How to connect the LED tape?
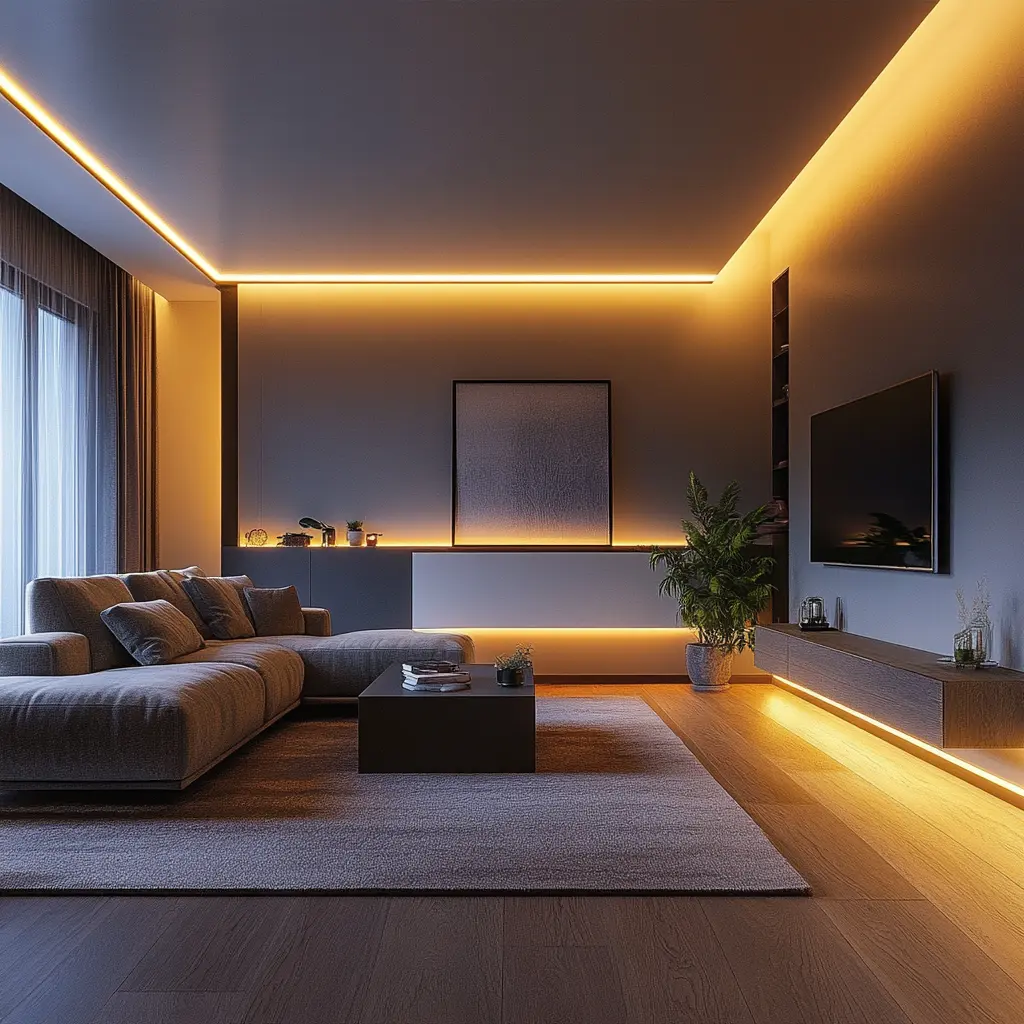
Connecting LED tape in our homes is becoming increasingly popular, bringing an elegant and modern touch to interiors. The use of LED strips in various rooms, from the living room to the kitchen, allows us to create unique lighting arrangements that emphasize the style and character of the interior. LED strips such as RGB LED strips allow you to personalize the lighting to your liking, creating a unique mood in each room.
On how to connect the LED strip in the place of your choice, you will learn from our guide, which will take you step by step through the entire installation process.
What will you learn from this article?
What is necessary to connect LED tape?
Connecting LED tape in the home is becoming increasingly popular, as it allows you to create striking lighting arrangements that add elegance and modern style to interiors. The use of LED strips, both single-color and RGB, allows you to customize the lighting to suit your individual needs and tastes. In order to effectively connect the LED tape, the right tools and materials are required to ensure trouble-free installation, as well as the operation of the lighting system.
Necessary tools and materials to mount LED tape:
- double-sided adhesive tape – allows you to easily and permanently attach the LED tape to the mounting surface,
- mounting glue – an additional option for stronger attachment of aluminum profiles to walls or ceilings,
- soldering iron and soldering tin – necessary for connecting LED strips and wires,
- aluminum profile – is used to mount the LED strip, providing an aesthetic finish and proper heat dissipation,
- electrical wires – allow you to connect the LED strip to the power supply and driver,
- insulating tape – used to protect electrical connections,
- modular power supply – provides the appropriate voltage and current to the LED strip, preventing voltage drops,
- electrical connectors – allow you to quickly and securely connect the wires to the LED strip.
Proper selection of tools and materials is indispensable for optimal lighting effect and durability of LED installation. With proper installation, as well as connection of LED tape, we can enjoy not only aesthetic, but also functional lighting in our home. About how to step by step connect the LED tape in the desired place, you will learn from our guide, which will carefully guide you through all the stages of installation, so that the independent work on the installation will turn out to be a pleasant and simple process.
How to cut LED tape?
Cutting LED tape is an indispensable step in its installation, which allows you to adjust the length of the lighting to the needs of a particular space. The process is relatively simple, but requires precision and the use of the right tools to ensure that the tape works properly once it is cut.
To cut LED tape, follow the steps below:
- Locating the cutting point – LED tapes have designated points where they can be trimmed. These points are usually marked with small lines or scissor icons on the tape. Make sure you only cut at these points to avoid damaging the tape’s circumference.
- Using the right tools – Use a sharp pair of scissors to trim the LED tape. The scissors should be clean and precise to ensure a smooth cut without damaging the LEDs or circuitry.
- Trim the tape – gently trim the LED tape at the marked point. Make sure the cut is straight and accurate to ensure proper connection to the power supply or other LED tape.
- Prepare the ends for connection – after cutting the LED tape, prepare the ends for connection. If you plan to connect several LED strips or connect the strip to a power supply, you may need connectors or a soldering iron to properly secure the connections.
It is worth remembering that we can connect the LED tape to the power supply with connectors, which make the process easier without soldering. Always make sure that all connections are secured and that you use a power supply suitable for the power of the LED strip to avoid voltage drops and damage.
How to connect LED tape?
Connecting LED tape is becoming increasingly popular due to its versatility and energy efficiency. These modern light sources add elegance and modernity to any room, and their installation is relatively simple. However, it is important to approach this task with due care to ensure a safe, as well as durable connection.
First of all, it is important to choose the right power supply. It allows the LED strip to work properly. Make sure that the power supply has the right power and voltage, which are compatible with the parameters of the tape.
To connect several LED strips, you can use special connectors or soldering. Connectors are a quick and simple solution, but soldering provides a more permanent and reliable connection.
When mounting led strips on different surfaces, a good solution will be to use double-sided tape. However, make sure that the mounting surface is clean and dry before sticking the tape.
An important step in the installation of LED tape is to connect it to the power supply. You can do it with wires or connectors. Remember to correctly identify the wires (plus and minus) and protect the connections from moisture, as well as mechanical damage.
After connecting the LED strip to the power supply, it is a good idea to check that everything works properly before final installation. This will avoid the need for disassembly in case of problems.
By choosing the right installation method and taking care of every detail, you can enjoy beautiful as well as functional lighting in your home.
What Mardom Decor products will you use when installing LED tape?
- LED strips: LED linear tape 4000k type COB, LED linear tape 3000k type COB, LED spot tape 3000k type SMD, LED spot tape 4000k type SMD,
- Connectors: Flap tape-to-tape connector, Flap tape-to-power supply connector, Slim slip type tape-to-tape connector,
- Power supplies: DC24V LED power supply with 100 watts, DC24V LED power supply with 200 watts, DC24V LED power supply with 320 watts.
What is the difference between RGB LED tape and regular LED tape?
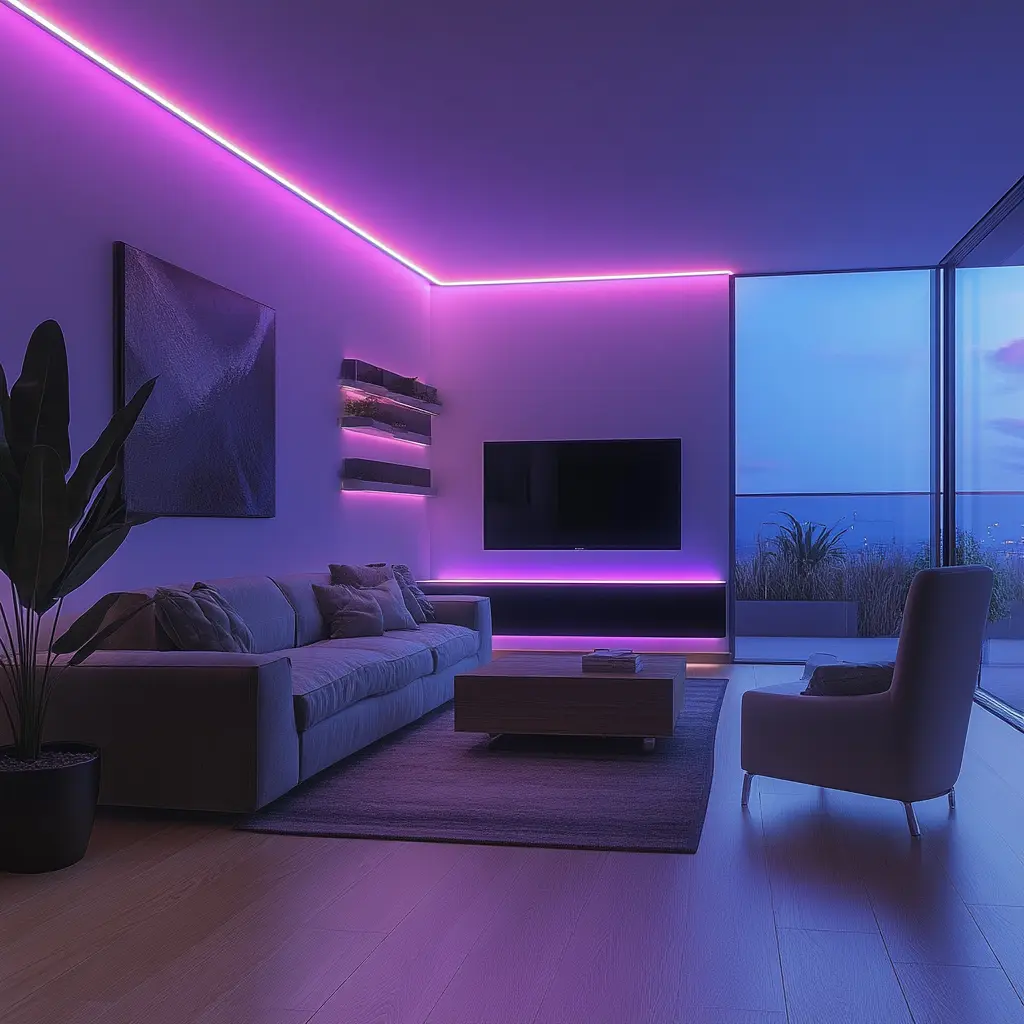
We should keep in mind that RGB LED tape allows you to achieve more interesting lighting effects than a single-color tape. Proper connection of RGB LED tape will therefore look a little different than working with basic LED tapes.
Before we learn how to connect an RGB LED strip, let’s learn the differences that divide them:
- Emitted light – ordinary LED tape emits light in one color (e.g. white, warm white, blue), while RGB LED tape can emit light in different colors thanks to RGB LEDs (Red, Green, Blue).
- Structure and construction – RGB LED tape contains three different LEDs in one module (red, green and blue), which can be combined in different proportions to produce a wide range of colors. Ordinary LED strips contain single-color LEDs.
- Control – to operate an RGB LED strip, you need an RGB controller to select and change colors and lighting effects. Ordinary LED strips can be controlled with a simple switch or dimmer.
- Application – RGB LED strips are ideal for creating mood lighting, event decoration and dynamic lighting effects. Ordinary LED strips are often used for functional lighting, such as under kitchen cabinets.
RGB strips therefore offer a number of more extensive possibilities than classic LED strips. How to connect an RGB LED strip? The installation of RGB LED strips will not be that complicated at all, if you decide to properly prepare all the necessary materials and tools in advance.
How to connect an RGB LED strip?
It is important to pay attention to have at hand before starting work everything we will need during installation. Mardom Decor, taking care of the highest level of your convenience, suggests you prepare the following items.
Materials and tools for the installation of RGB LED strip
The necessary materials and tools that will come in handy when installing RGB LED strips are:
- RGB LED tape
- RGB controller
- modular power supply
- wires
- help
- double-sided adhesive tape or mounting brackets
- connectors
- tools for cutting and soldering wires
How to mount RGB LED tape step by step?
Installation of RGB LED tape looks like the following:
- Step 1 – Prepare the LED tape – make sure you have the right length of LED tape to suit the mounting location. If necessary, trim the LED tape at the marked cutting points.
- Step 2 – connect the tape to the RGB controller – connect the ends of the LED tape to the RGB controller, making sure all connections are either properly soldered or secured with connectors. Make sure the wires are well marked to avoid confusion when connecting.
- Step 3 – connect the controller to the power supply – connect the RGB controller to the power supply. To do this, use the red wire to connect to the positive pole of the power supply, and the other wires to the corresponding outputs.
- Step 4 – mounting the LED tape – stick the LED tape to the mounting surface using either double-sided adhesive tape or mounting brackets. Make sure the tape is evenly attached to achieve uniform illumination.
- Step 5 – connect to power supply – plug the power supply into a power outlet. Make sure all wires are properly connected and secured. Turn on the power supply, and then check that the LED strip works properly.
Properly installed RGB LED strip can significantly improve the aesthetics and functionality of the interior. By taking care of the proper connection and installation, you can enjoy striking lighting for years to come.
See more inspiration on our Instagram!
Instagram Mardom DecorWhat to pay special attention to during the installation of LED strips and RGB LED strips?
When installing LED strips and RGB LED strips, it is worth paying special attention to several basic aspects that will ensure safety and optimal operation of the lighting system. First of all, make sure that the LED strip is properly connected to the power supply, as improper connection can lead to damage to the strip or the power supply. Make sure you use a power supply that is suitable for the power of the LED strip, which will help avoid problems related to voltage drops.
Proper preparation of the mounting surface
Another important aspect is the proper preparation of the mounting surface. LED strips should be mounted on clean and dry surfaces, and ideally we should reach for double-sided adhesive tape. Otherwise, the tape may peel off, which will not only disturb the aesthetics of the lighting, but may also lead to damage to the LEDs.
When cutting LED tape, especially RGB LED tape, be careful and cut in designated areas so as not to damage the circuitry. You should also use appropriate tools such as scissors or wire cutters to ensure precise and safe cutting.
Correct connection of LED strips
Proper connection of LED strips is also important. In the case of RGB LED strips, attention should be paid to the proper connection of RGB wires to ensure correct color performance. Using connectors or soldering the wires is recommended to ensure durable and secure connections.
When installing LED strips in areas exposed to moisture, such as kitchens or bathrooms, use airtight power supplies and aluminum profiles, which will further protect the strip from mechanical damage and the influence of moisture. The use of appropriate mounting brackets will also help to secure the tape stably, as well as protect it from accidental damage.
Remember to always follow the manufacturer’s instructions and safety rules to avoid the risk of a short circuit or other electrical problems.

