LED profile in the wall – step-by-step installation
LED profile in the wall is an increasingly popular solution in modern apartments, attracting attention with its subtle elegance and functionality. Installing the LED profile in the wall allows you to achieve an aesthetic and practical effect, making the space brighter, as well as more cozy. An interesting alternative to this solution is to place the LED profile in a ceiling or wall strip, which adds an unusual dynamic and modern character to the interior. This technique is particularly popular in minimalist styling, in addition to Scandinavian, where it emphasizes the simplicity and harmony of the interior. About how to install LED strips in the wall and alternatively on the wall, you will learn from our guide, which offers detailed instructions, as well as valuable advice.
What will you learn from this article?
- How can the LED profile be located in the wall?
- What are the alternatives to placing an LED profile on the wall?
- How to carry out the installation of LED tape recessed into the wall?
- How to install a surface mounted LED profile?
- How to install LED profiles in the soffit strip?
- How to locate the LED strip in the wall strip?
- Summary – which solution will be most beneficial?
How can the LED profile be located in the wall?
Locating the LED profile in the wall is a solution that is gaining popularity in modern interiors. It offers not only aesthetic, but also functional benefits. There are two main mounting options: recessed LED profile and surface-mounted LED profile. Each is characterized by unique features, which are worth knowing in order to make the best choice for your interior.
Recessed LED profile
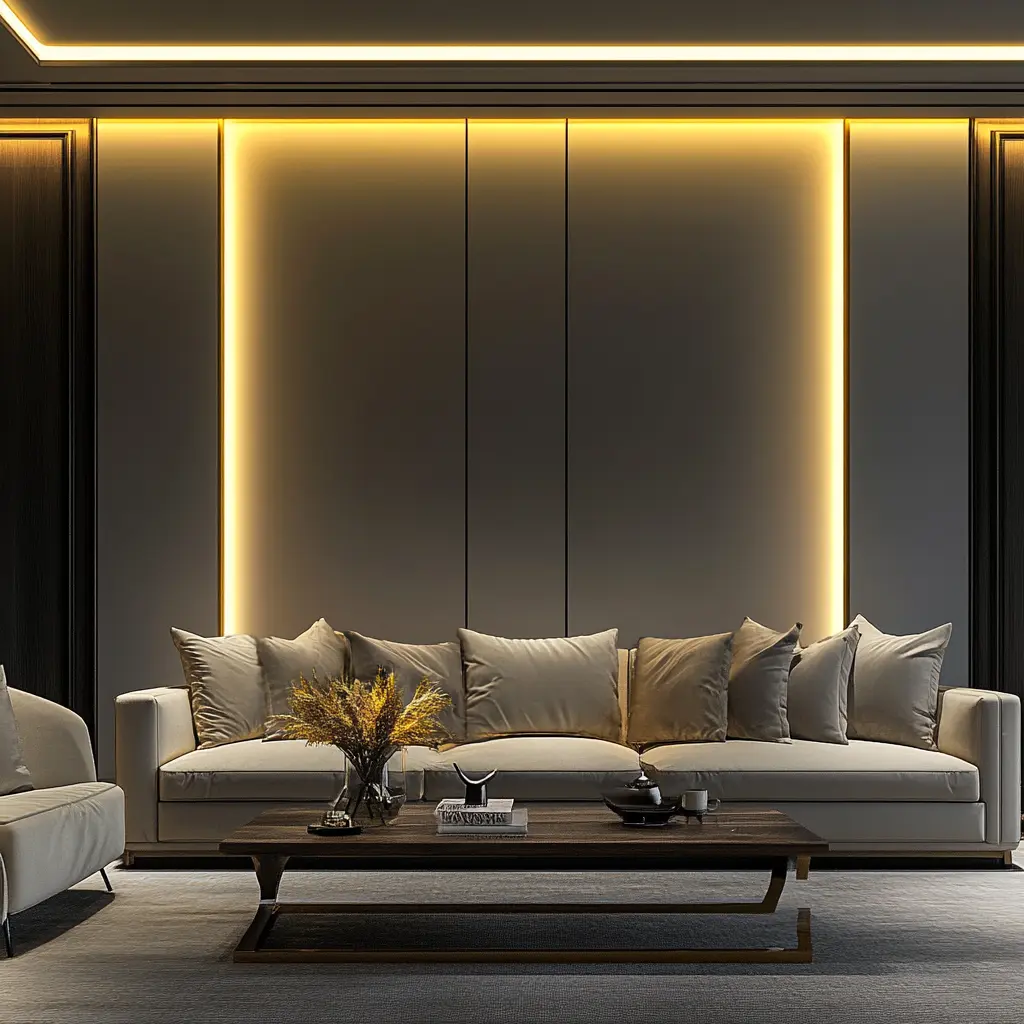
Recessed LED profile is a subtle and elegant solution that allows you to hide the profile in the wall, creating the effect of a smooth, uniform surface. This type of profile fits perfectly into minimalist and modern arrangements, where every detail counts. Due to the fact that the profile is integrated into the surface of the wall, the LED lighting emits a soft light that not only highlights selected elements of the interior, but also creates a pleasant atmosphere. The recessed LED profile is ideal for those who appreciate discreet and stylish solutions.
Surface-mounted LED profile
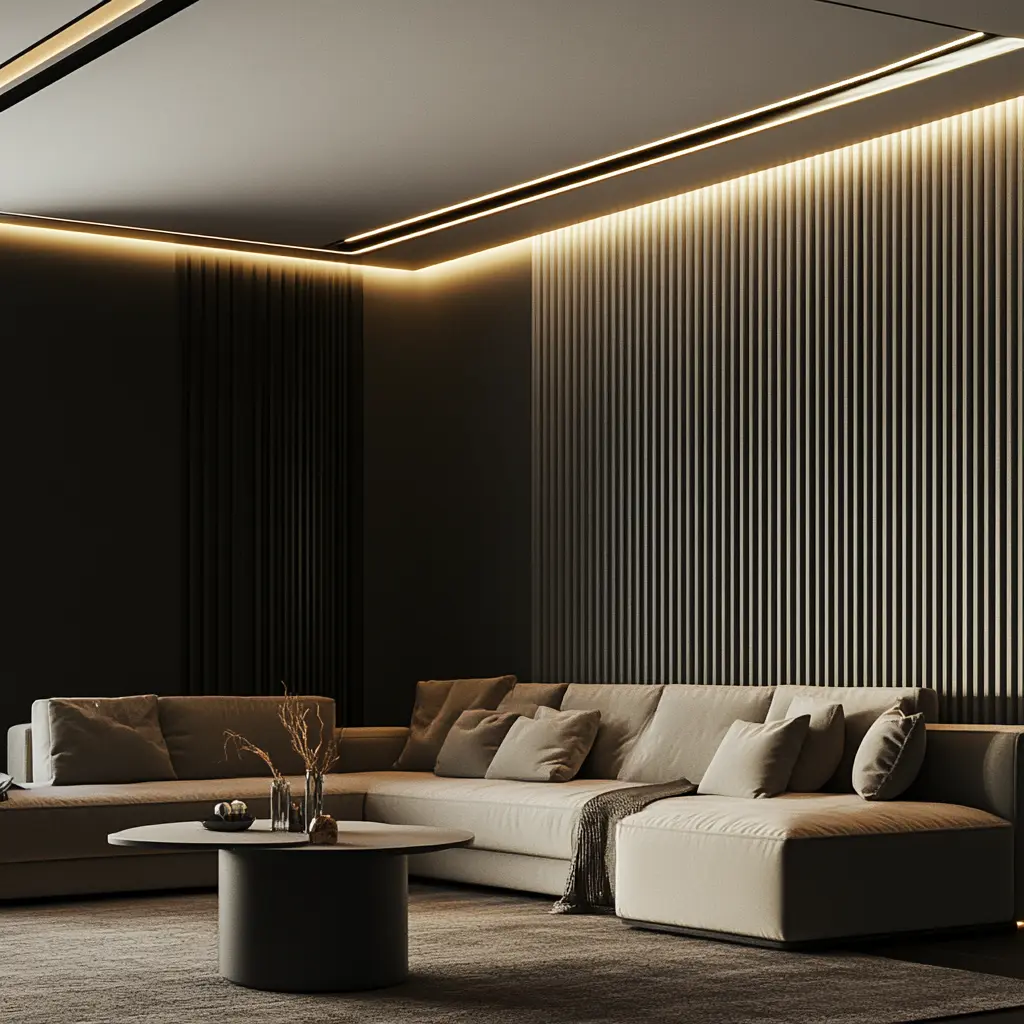
Surface-mounted LED profile is a more versatile option, allowing you to install the profile without making major changes to the wall structure. It is mounted directly on the surface, which makes it a quick and easy solution. The surface-mounted profile can be used in a variety of locations, both horizontally and vertically, giving a wide range of design possibilities. It is an excellent choice for those wishing to introduce modern LED lighting into their interior without the need for complex renovation work.
When choosing the right LED profile, it is worth paying attention to the nature of the interior and the functions to be performed by the lighting. Regardless of the choice, both recessed and surface-mounted LED profile can significantly enhance the aesthetic and functional qualities of the space.
What are the alternatives to placing an LED profile on the wall?
Alternatives to placing an LED profile in the wall include the use of ceiling mouldings with integrated LED lighting and wall mouldings equipped with LightGuard technology.
Ceiling mouldings with LED lighting are an elegant solution, subtly highlighting the architecture of the room, creating a pleasant atmosphere. Thanks to the location of the light source in the mouldings, there is no need to interfere with the structure of the wall, which allows for faster and simpler installation.
Wall mouldings with LightGuard technology are another innovative solution. This technology prevents unsightly reflection of light from the mouldings, ensuring even and pleasant illumination of the space. Using wall mouldings close to the wall gives a similar effect to LED profiles mounted directly in the walls, but without the need for major renovation work.
Both solutions allow you to achieve spectacular lighting effects in the room, while minimizing interference with its structure. As a result, you can enjoy modern, functional and aesthetically pleasing lighting, emphasizing the character of the interior and adding to its unique charm. About how to install LED strips in the wall and alternatively on the wall, you will learn from our guide.
How to carry out the installation of LED tape recessed into the wall?
Installing a LED strip recessed into the wall is a great way to provide modern and subtle interior lighting. The LED recessed profile provides an aesthetically pleasing appearance, as well as an even dispersion of light, which adds elegance to the interior.
Installation of LED tape in the wall
When installing LED tape in the wall, you will need such tools and materials as:
- dedicated connectors,
- protractor,
- mounting glue,
- LED profile shade,
- wallpaper cutter,
- LED recessed profile,
- aluminum profile,
- screwdriver,
- double-sided tape,
- insulating tape,
- LED tape,
- mounting bracket,
- drill.
Installation instructions for LED profiles recessed into the wall
To install the LED profile recessed into the wall:
- Prepare the wall – before starting to install the LED profile in the wall, make sure the surface is clean and dry. Depending on the chosen location, mark with a pencil the line along which the LED profile will be mounted.
- Cut the hole – use a drill and wallpaper cutter to cut a suitable hole in the wall for the recessed LED profile. The hole must be precisely matched to the dimensions of the profile to ensure stability and aesthetics of the installation.
- Mount the LED profile – place the LED profile in the prepared hole, using mounting adhesive to attach it. Make sure that the profile is well seated and level. You can also use mounting brackets to increase stability.
- Install the LED tape – prepare the LED tape by cutting it to the right length with a wallpaper cutter. Then attach the LED tape to the profile, using either double-sided tape or dedicated connectors. Make sure to secure the ends of the tape with insulating tape to prevent mechanical damage.
- Mount the diffuser(s) – place the diffuser over the LED profile, which will protect the LED strip and disperse the light evenly around the room. Choose the right lampshade that matches the type of profile and will provide the optimal lighting effect.
Finalize your project
LED profiles recessed into the wall are the ideal solution for those who appreciate modern design and functionality. Thanks to the ability to hide the LED strip in the wall, it is possible to achieve the effect of subtle yet effective lighting. By choosing LED profiles from reputable manufacturers, such as Mardom Decor, you can be sure that your project will be durable and aesthetically pleasing.
How to install a surface mounted LED profile?
Installing a surface-mounted LED profile in an apartment is an excellent solution that brings modernity as well as elegance to the interior. This type of profile does not require interference with the structure of the wall, making it a practical choice for anyone who wants easy installation without complicated construction work.
How to carry out the installation of LED surface profile? What will prove to be necessary?
Tools and Materials:
- dedicated connectors,
- protractor,
- mounting glue,
- LED profile shade,
- wallpaper cutter,
- LED surface-mounted profile,
- aluminum profile,
- screwdriver,
- double-sided tape,
- insulating tape,
- LED tape,
- mounting bracket,
- drill.
Surface mounted LED profile installation
To install surface-mounted LED profiles:
- Prepare the surface – make sure that the surface where you want to mount the LED surface profile is clean and dry. You can use a soft cloth to remove dust and dirt, which will ensure better adhesion of the profile.
- Measure the surface and trim the profile – measure the length of the surface where the LED profile will be mounted. Then trim the aluminum profile to the appropriate length using a wallpaper cutter. Use a protractor to make sure the cuts are straight, but also precise.
- Install the mounting brackets – use a drill to make holes where the mounting brackets will be attached. These brackets will help hold the LED profile in place. Fix the brackets with screws, making sure they are firmly attached to the surface.
- Install the LED tape – Prepare the LED tape, making sure it is the right length. You can cut the tape in designated places to fit the length of the profile. Then attach the LED tape to the profile using double-sided tape or mounting glue.
- Secure and connect the LED tape – use insulating tape to secure the ends of the LED tape and to connect it to the power supply. Mount the diffuser to the LED profile, which will provide an aesthetic finish and protect the tape from mechanical damage.
- Mount the profile on the surface – fix the LED profile in the mounting brackets. Make sure the profile is evenly mounted and securely fastened. Check that the LED strip works properly by turning on the light
Matching any arrangement
Installing a surface-mounted LED profile is not only a way to provide modern interior lighting, but also to bring elegance and functionality to any room. Thanks to the use of LED profiles from Mardom Decor, you will achieve a perfect match to any arrangement. LED strips create the perfect lighting solution that will delight every household member and guest.
How to install LED profiles in the soffit strip?
Mounting LED profiles in the soffit trim is an elegant way to introduce modern lighting into the interior, which does not require complicated construction work. Thanks to the use of LED strips and LED profiles, you can achieve subtle yet striking lighting effects, perfectly blending with any arrangement.
How to carry out the installation of LED profile in the soffit strip?
Tools and Materials:
- dedicated connectors,
- protractor,
- mounting glue,
- LED profile shade,
- wallpaper cutter,
- LED profile,
- aluminum profile,
- screwdriver,
- double-sided tape,
- insulating tape,
- LED tape,
- mounting brackets,
- drill.
Installation of LED profiles in the ceiling strip
To properly install the LED profile in the ceiling strip:
- Prepare the surface – make sure the soffit strip where you intend to install the LED profile is clean and dry. Remove any dirt, dust and grease with a soft cloth to ensure better adhesion of the profile.
- Measure and trim the profile – measure the length of the soffit trim where the LED profile is to be mounted. Use a wallpaper cutter and protractor to accurately cut the aluminum profile to the correct length. Remember to keep your cuts straight as well as precise.
- Install the mounting brackets – use a drill to make holes in the ceiling trim where the mounting brackets will be attached. Fix the brackets with screws, making sure they are firmly attached as well as will hold the LED profile in place.
- Install the LED tape – prepare the LED tape, adjusting its length to fit the profile. You can cut the tape in designated places to fit the profile length perfectly. Attach the LED tape to the profile using either double-sided tape or mounting glue, ensuring even adhesion.
- Secure and connect the LED strip – use insulating tape to secure the ends of the LED strip and to connect it to the power supply. Mount the diffuser to the LED profile to protect the tape from mechanical damage and provide an aesthetically pleasing finish.
- Mount the profile on the soffit strip – fix the LED profile in the mounting brackets. Make sure the profile is evenly mounted and firmly attached to the strip. Check
Simple termination of work
Mounting an LED profile in a soffit strip is a modern solution that adds elegance and functionality to the interior. Thanks to the use of LED strips and LED profiles from Mardom Decor, you can achieve subtle lighting effects that blend perfectly with any arrangement. This is the perfect solution for those who want to introduce modern lighting into their home without the need for complicated construction work.
ProTip from Mardom Decor! If the installation of LED profiles is not your dream job, you can reach for our ready-made solutions that will save you: work, effort, energy and fatigue. Among the available ceiling light strips at Mardom Decor are the following proposals:
- MD172 lighting strip
- MD210 lighting strip
- MD368 lighting strip
- MD106 lighting strip
- MD145 lighting strip
- MD380 lighting strip
Check which ones meet your design desires and make sure that the installation of LED profiles is a pleasure and not just an unpleasant chore!
How to locate the LED strip in the wall strip?
Installing LED tape in a wall strip is an elegant and functional solution that will add a modern touch to the interior. With the use of LED strips and LED profiles, you can achieve striking lighting that will subtly highlight the architecture of the interior.
How to carry out the installation of LED strip in the wall strip?
Tools and materials include:
- dedicated connectors,
- protractor,
- mounting glue,
- LED profile shade,
- wallpaper cutter,
- LED flush profile,
- aluminum profile,
- screwdriver,
- double-sided tape,
- insulating tape
- LED tape,
- mounting brackets,
- drill.
Installation of wall strip with LED tape inside
Installation of a wall strip with LED tape inside should look like this:
- Surface preparation – make sure that the surface on which you are going to mount the LED profile is free of dirt and dry. Remove any dirt, dust, as well as grease with a soft cloth to ensure better adhesion of the profile.
- Measure and cut the profile – measure the length of the wall strip on which the LED profile is to be mounted. Use a wallpaper cutter and protractor to accurately cut the aluminum profile to the correct length. Remember to keep the cuts straight as well as precise.
- Mounting the mounting brackets – using a drill, make holes in the wall strip where the mounting brackets will be attached. Fix the brackets with screws, making sure they are firmly attached and will hold the LED profile in place.
- Install the LED tape – prepare the LED tape, adjusting its length to fit the profile. You can cut the tape in designated places to fit the profile length perfectly. Fix the LED tape to the profile with double-sided tape or mounting glue, ensuring even adhesion.
- Secure and connect – use insulating tape to secure the ends of the LED strip and to connect it to the power supply. Mount the diffuser to the LED profile to protect the tape from mechanical damage and provide an aesthetically pleasing finish.
- Mounting the profile on the wall strip – fix the LED profile in the mounting brackets. Make sure the profile is evenly mounted and firmly attached to the strip. Spr
LED profile in wall strip
Installing LED tape in a wall strip is an easy way to introduce modern lighting into any interior. Thanks to the use of LED strips and LED profiles, you can achieve subtle lighting effects that blend perfectly with different styles of design. This is a solution that adds not only elegance, but also functionality to any room.
ProTip from Mardom Decor! If installing LED profiles seems too complicated or you simply don’t have the time, we have prepared the perfect solution for you. Our ready-made lighting products are designed to minimize your work, saving you time and effort. In Mardom Decor’s assortment you will find many stylish lighting strips, which will be perfect as an alternative to traditional LED profiles.
Interesting and popular options include:
- MD016 wall strip
- MD025 wall strip
- Wall strip QL006
- Lighting strip QL017
- MD030 wall strip
- MD024 wall strip
Summary – which solution will be most beneficial?
Mardom Decor likes to positively surprise its customers, and it will be so this time too! Which of the presented solutions will prove to be the most beneficial? It all depends on what effect we want to achieve, where we need or want to mount the LED strip, whether we prefer to locate the aluminum profiles ourselves, or whether we bet on ready-made proposals. The guide from Mardom Decor has probably convinced you that in the case of installing LED profiles both in the wall, on it and in close proximity to it, the work is not too complicated and time-consuming, so it all depends on your preferences, whether you take the challenge and do it yourself, or reach for ready-made variants! Do you already know which solutions will prove to be most beneficial just for you?

