Guide to the installation of Mardom Decor wall corners – necessary tips
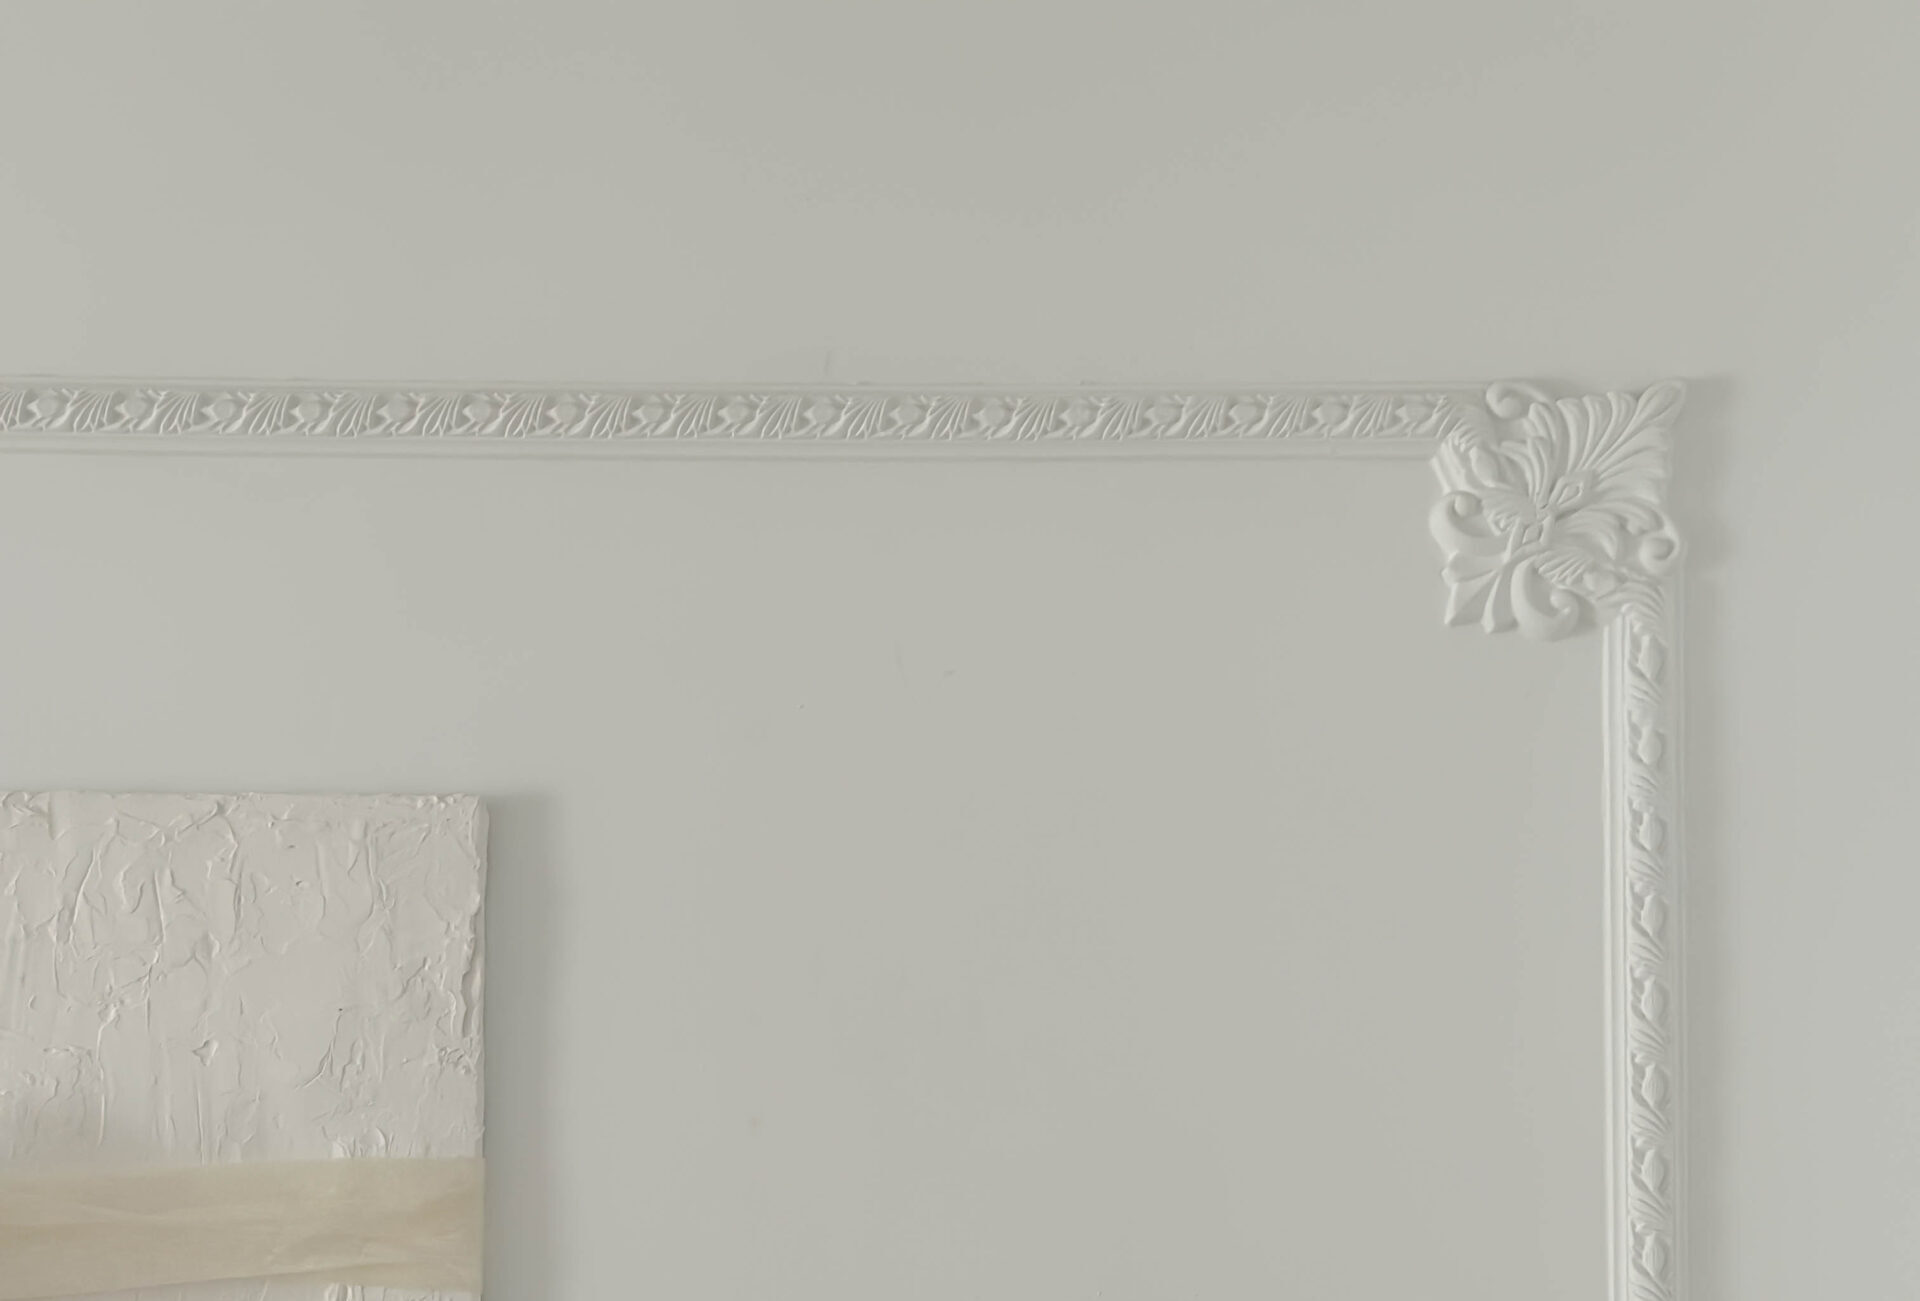
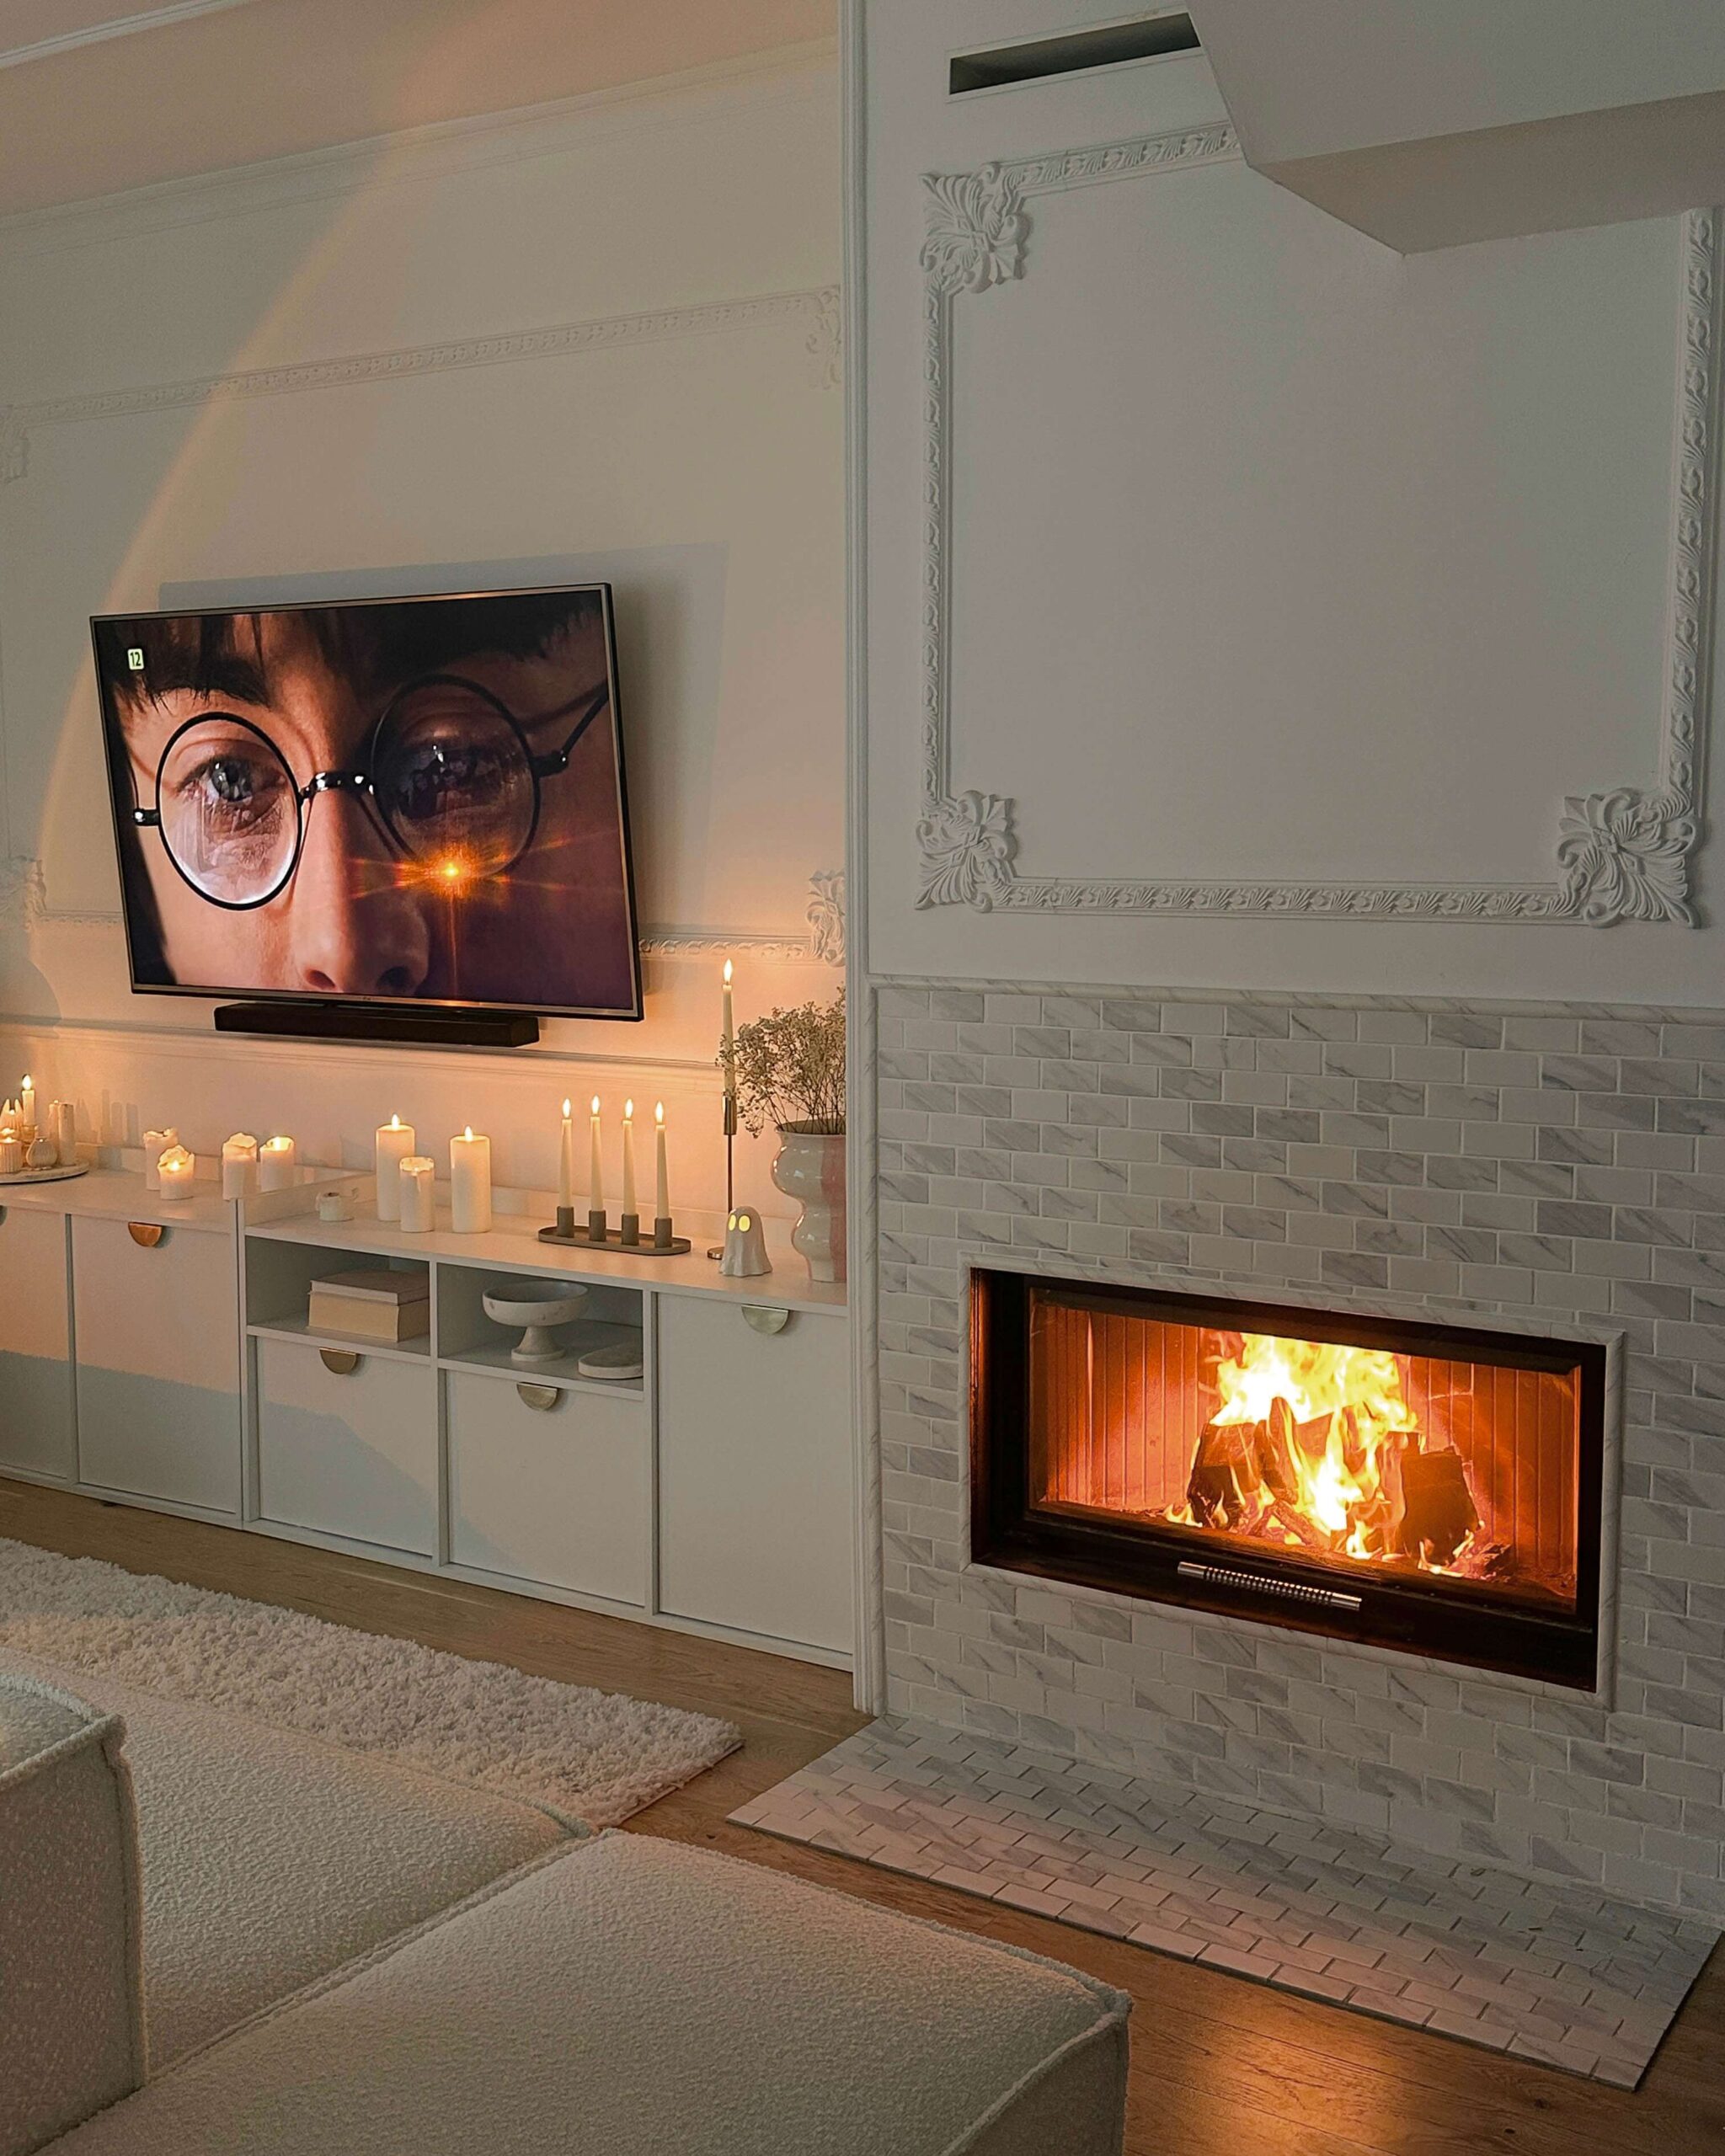
How to add elegance to our interior? Using wall frames with decorative corners! These stylish accessories will emphasize the elegant character of our space, adding class and sophistication. However, corner sofas only fulfill their decorative function when installed correctly. Proper installation will ensure a durable connection with the wall that will delight all guests. Here is a guide to installing Mardom Decor wall corners, where you will find the necessary tips to enjoy a beautiful and durable decoration.
Installing wall corners may seem complicated, but our proven methods and practical advice will help. You will learn what tools and materials will be needed and what steps to take to ensure that the installation runs smoothly and without any problems. We invite you to read!
Installation of wall corners – basic information
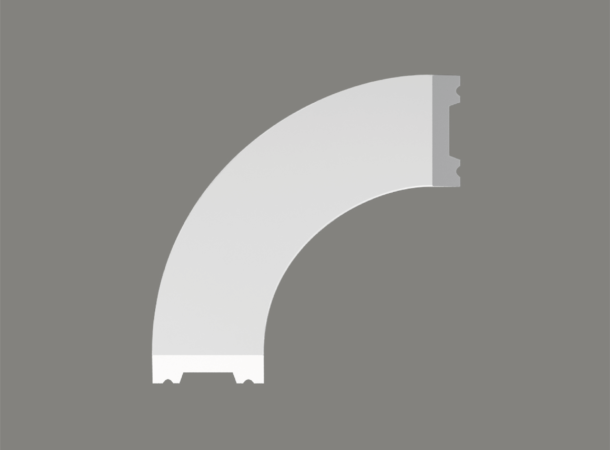
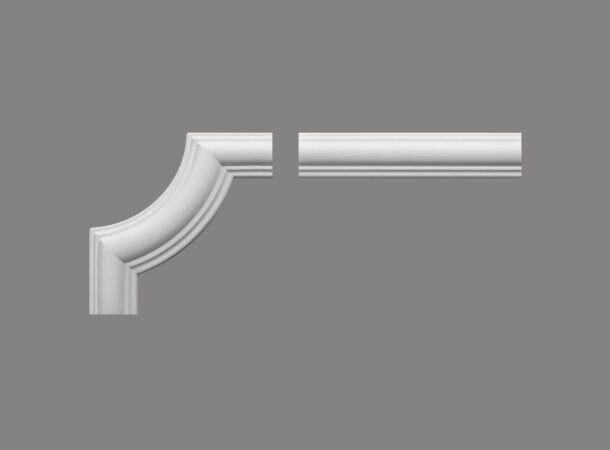
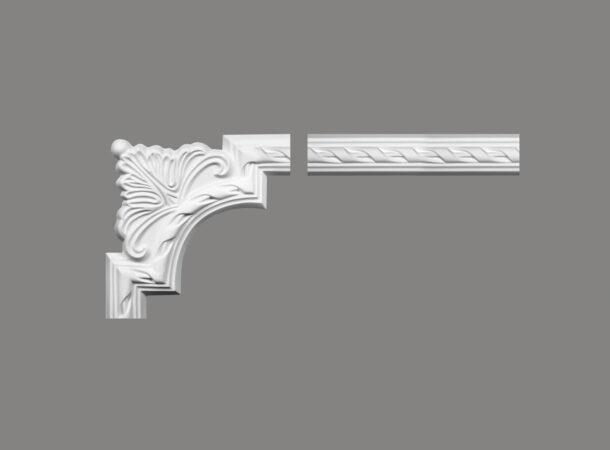
Wall corners are decorative elements used in the corners of stucco screens. Mardom Decor’s offer includes many shapes – from modern, rounded forms, through minimalist arches, to decorated ornaments with floral patterns. Corners are an additional element – frames can be traditionally connected by cutting the strips at a 45-degree angle, but it is the corners that are the detail that changes the arrangement, adding charm to it.
At Mardom Decor, we can distinguish two types of wall corners: made of ProFoam and PolyForce. Before purchasing, it is worth checking the properties of each of these materials, because each of them has unique features and properties, e.g. ProFoam is a light and plastic material that allows you to create very detailed and decorative decorations of large sizes, while PolyForce is a dense material with increased resistance to mechanical damage. Detailed information on this subject can be found on our website in the “About us” tab and then “Technologies”. The material from which the corners are made is also crucial at the stage of mounting to the surface, but we will discuss this element in detail later in the article. Thanks to this, you will be able to choose appropriate wall corners that will work best on your wall.
Preparation of walls before installing corners and necessary tools
Before installing any stucco, make sure that the surface is dry and smooth – there is no peeling paint or peeling plaster. If there is wallpaper on the walls, it is necessary to check its adhesion, because a falling layer may pull the stucco along with it, destroying the visual effect and our hard work. The wall should be stable, dry and clean – dusted and degreased. Painted surfaces should be rubbed with sandpaper before installation and then cleaned thoroughly. In the case of very uneven wall surfaces, it may be necessary to level them first (e.g. using plasterboards). Aluminum corners can also help by leveling the corners of the walls, protecting the surface against damage. This is a very important stage that cannot be skipped. Providing a smooth surface, properly prepared for fixing stucco gluing, will guarantee a long-lasting and stable stucco arrangement.
Before the actual assembly, you should also prepare the necessary tools. You will need a ruler, a pencil, a level to mark the line and an auxiliary drawing (alternatively, you can also use a laser level, we recommend one with several lines that will help create the outline of our frame). You will also need a miter box and a hand saw or, alternatively, a miter saw or an electric saw, as well as sandpaper with a grit of 150 or less and, of course, appropriately selected glue. Thanks to these tools, the assembly process in corners will run smoothly and the end result will be satisfactory.
Attention!
In the case of electric cutting tools, we recommend choosing a sharp disc with a large number of fine teeth. Cut at low speed to maintain the best possible cutting effect.
How to properly install a wall corner?
The first and most important stage is to design the dimensions of our wall frames. We should take into account our needs and aesthetic expectations, but also the dimensions of the selected corner sofas. They have a specific width and height and these are the elements that will define the minimum dimensions of stucco screens. When designing wall frames, we also recommend taking into account practical aspects – at what height do we plan to mount the frames, will there be a sofa or chairs behind them? Will the skirting boards used match the frames and not touch each other? Or maybe it is worth mounting them higher to protect the strips against mechanical damage? All these elements are very individual for each user and should be adapted to a given arrangement.
Attention!
If you are not sure whether a given frame arrangement will work on your wall, make a scale design on a piece of paper and then copy it on the wall using painter’s tape. At this stage, any imperfections will be visible and you will be able to make corrections to the design without any losses.
If we already have a design, apply it to the wall. A tape measure, spirit level, pencil or laser level will come in handy here. We mark the gluing line, which will help us maintain perfect shapes, proportions and angles. The next step is to cut the wall strips to the designated dimensions of the wall frames to the desired length and sand them on the edges using sandpaper.
Then we move on to gluing. There is no golden mean or one correct installation method. What we recommend is to set a reference point, which will make gluing subsequent elements much easier. It can be the top or bottom line of the frame. Then we recommend attaching the corners on both sides of the wall strip. Its position will make it easier to glue subsequent frame elements. Remember to apply glue not only to the inner surface of the strip and the corner, but also on the joining line – these are the places where the decor meets the wall strip, where special attention should be paid to the precision of gluing.
The joints should be masked with glue, and for larger defects, you can mix plaster filler yourself or use a ready-made product – putty using a spatula. Excess product should be removed from the surface using a cloth slightly moistened with clean water. After the frames have dried, we recommend lightly sanding the elements dirty with putty or glue with sandpaper and smoothing the surface. Then you can move on to painting. Remember that you can mix the plaster yourself or use a ready-made product – plaster.
Tips for beginners – what to do and what to avoid?
If you are a beginner in assembling wall corners, we have some valuable tips for you that will help you avoid common mistakes and ensure that the end result is satisfactory.
Check out the free interior visualizer!
See how our products will look in your room. It’s just three simple steps – take a photo with your phone, upload the file to the visualizer and apply stucco to your walls with one click. Ready!
Go to the visualizer
- Checking whether the purchased adhesives are compatible with the material to which they will be used (ProFoam or PolyForce) – before starting work, make sure that the glue is suitable for the selected type of stucco.
- Applying the right amount of glue – too much glue will flow out, wasting the product, but too little may negatively affect the durability of the arrangement. It is important to find a golden mean.
- Remember to mask the joints – carefully masking the joints with glue will ensure that the surface is even and aesthetic.
- Stucco can be painted only after the glue and putty have completely dried – be sure to follow the time specified on the manufacturer’s packaging to avoid problems with subsequent painting.
- Painting stucco – the paint should be applied in a thin layer, using solvent-free paints (e.g. dispersion paints, acrylic varnishes, etc.). If you have experience, you can paint the stucco before gluing.
Keeping these tips in mind, the installation of corner sofas on the wall will go smoothly, and the final effect will be satisfying and durable.
Corner glue application: best practices
Adhesive is a key element ensuring durability and aesthetics of wall corner installation. To attach stucco and corners to the wall, it is best to use Fix Pro glue, which works perfectly on walls. However, for difficult surfaces such as wardrobe fronts, it is recommended to use Mardom Max glue, which ensures strong and durable fixing in just 8 seconds.
For joining elements made of PolyForce, Fix Pro glue is the perfect choice. It provides a solid and aesthetic connection that will last for many years. Fix Extra glue is recommended for connecting corners made of ProFoam.
Problems when installing corners and how to avoid them?
When installing wall corners, you may encounter various problems that may affect the final aesthetic effect and durability of the arrangement. It is worth being aware of potential difficulties and preparing appropriately for them so that the installation process runs smoothly and hassle-free.
- The corner has its own width – it defines the size and angle at which the frame will be connected. Therefore, you should carefully measure and plan the placement of the corners.
- Corner sofas are often dedicated to use with a specific type of wall strips – it is worth planning this well in advance and making sure that all the elements will fit together.
- Frames can be glued to wall wallpapers or mirrors – but doing so in an aesthetic way may be problematic for unskilled users and some specialists. If it is not necessary, we should refrain from installing it on such surfaces.
- Improper use of adhesive – make sure you use the correct adhesive for the specific material (e.g. ProFoam or PolyForce) and apply the appropriate amount of adhesive to avoid bleeding or insufficient adhesion.
- No masking of joints – to make the surface even and aesthetic, remember to mask the joints with acrylic or putty.
- Improper painting – stucco can be painted only after the glue and filler have completely dried. Use water-based paints.
Following these tips will help you avoid many problems when installing corners and ensure a durable, aesthetic result.

