How to cut skirting boards – a practical guide for do-it-yourselfers
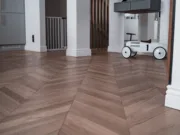
Cutting skirting boards is one of the last, but crucial, tasks during interior finishing. Although it may seem complicated, with the right tools and a few tips, any do-it-yourselfer is able to precisely fit the skirting boards to the shape of the room. In this step-by-step guide, we’ll walk you through the process of cutting skirting boards so that the end result is aesthetically pleasing and durable. You will learn what tools to use, what to pay attention to, as well as techniques that will make the job easier.
What will you learn from this article?
What tools are necessary when cutting skirting boards?
To accurately cut skirting boards, you will need the right tools to ensure accuracy and ease of work. The list of the most important tools is as follows:
- Hand saw or mitre saw – a fine-toothed saw is ideal for precision cutting of skirting boards. For greater precision and to speed up the work, it is worth investing in a bevel saw.
- Angle box – useful for measuring and determining angles, especially in corners where the slats must be cut at a 45-degree angle.
- Bevel box – allows for precise cutting at specific angles, such as 45° or 90°. It is especially helpful when we do not have a mitre saw.
- A tape measure and pencil – essential for accurately marking out cutting points and measuring the length of the slats.
- A file or sandpaper – for smoothing the edges after cutting, which will ensure an aesthetic finish and an accurate fit.
- Mounting glue or nailer – used to attach the moldings to the walls. Depending on the material of your walls, you may want to use mounting glue or a nailer to permanently set the moldings.
Choosing the right tools will not only make the work easier, but also achieve a professional finish.
How to cut skirting boards at right angles?
To carry out the process of trimming skirting boards in a simple and effective way, follow the tips below:
- Measure the length of the wall – start by carefully measuring the length of the section of the wall on which you will install the strip. Remember to measure twice to avoid errors.
- Mark the cutting location – transfer the measurements to the molding, marking with a pencil the point where it is to be cut. Make sure the line is clear and straight.
- Prepare thetools – place the strip in the cutting box, making sure it is firmly seated. Choose a hole to cut at a right angle.
- Make the cut – slowly start cutting the strip with a handsaw, keeping the tool at the right angle and trying to make smooth movements. Don’t press too hard to avoid damaging the material.
- Smooth out the edges – once you’ve finished cutting, use a file or sandpaper to smooth out the edges. This will ensure an aesthetically pleasing appearance and make installation easier.
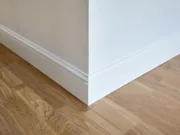
- Try on the molding – check if the molding fits well on the wall. If everything is in order, you can install the skirting boards, for example, using mounting glue.

What is the way to cut skirting boards at a 45-degree angle?
Now it’s time to look at how to cut skirting boards at a 45-degree angle. It is worth noting that both methods are very similar and are based on analogous actions and the use of appropriate tools:
- Measuring the length of the wall – start by accurately measuring the length of the wall where you will install the skirting boards. Accuracy of measurement is important when cutting at an angle.
- Mark the cutting line – transfer the measured lengths to the skirting board, marking with a pencil the place where the 45-degree angle cut is to be made.
- Prepare the bevel box – place the strip in the bevel box, making sure it is well stabilized. Select an opening to cut the strip at a 45-degree angle.
- Start cutting – carefully start cutting along the designated line, using smooth and steady movements. Maintain an even angle while cutting for best results.
- Smooth the edges – after making the cut, use sandpaper or a file to smooth the edges. This will produce a cleaner finish.
- Check the fit – after smoothing, check that the cut trim fits snugly in the corner. If the two strips cut at a 45-degree angle fit together perfectly, you can proceed with installation.
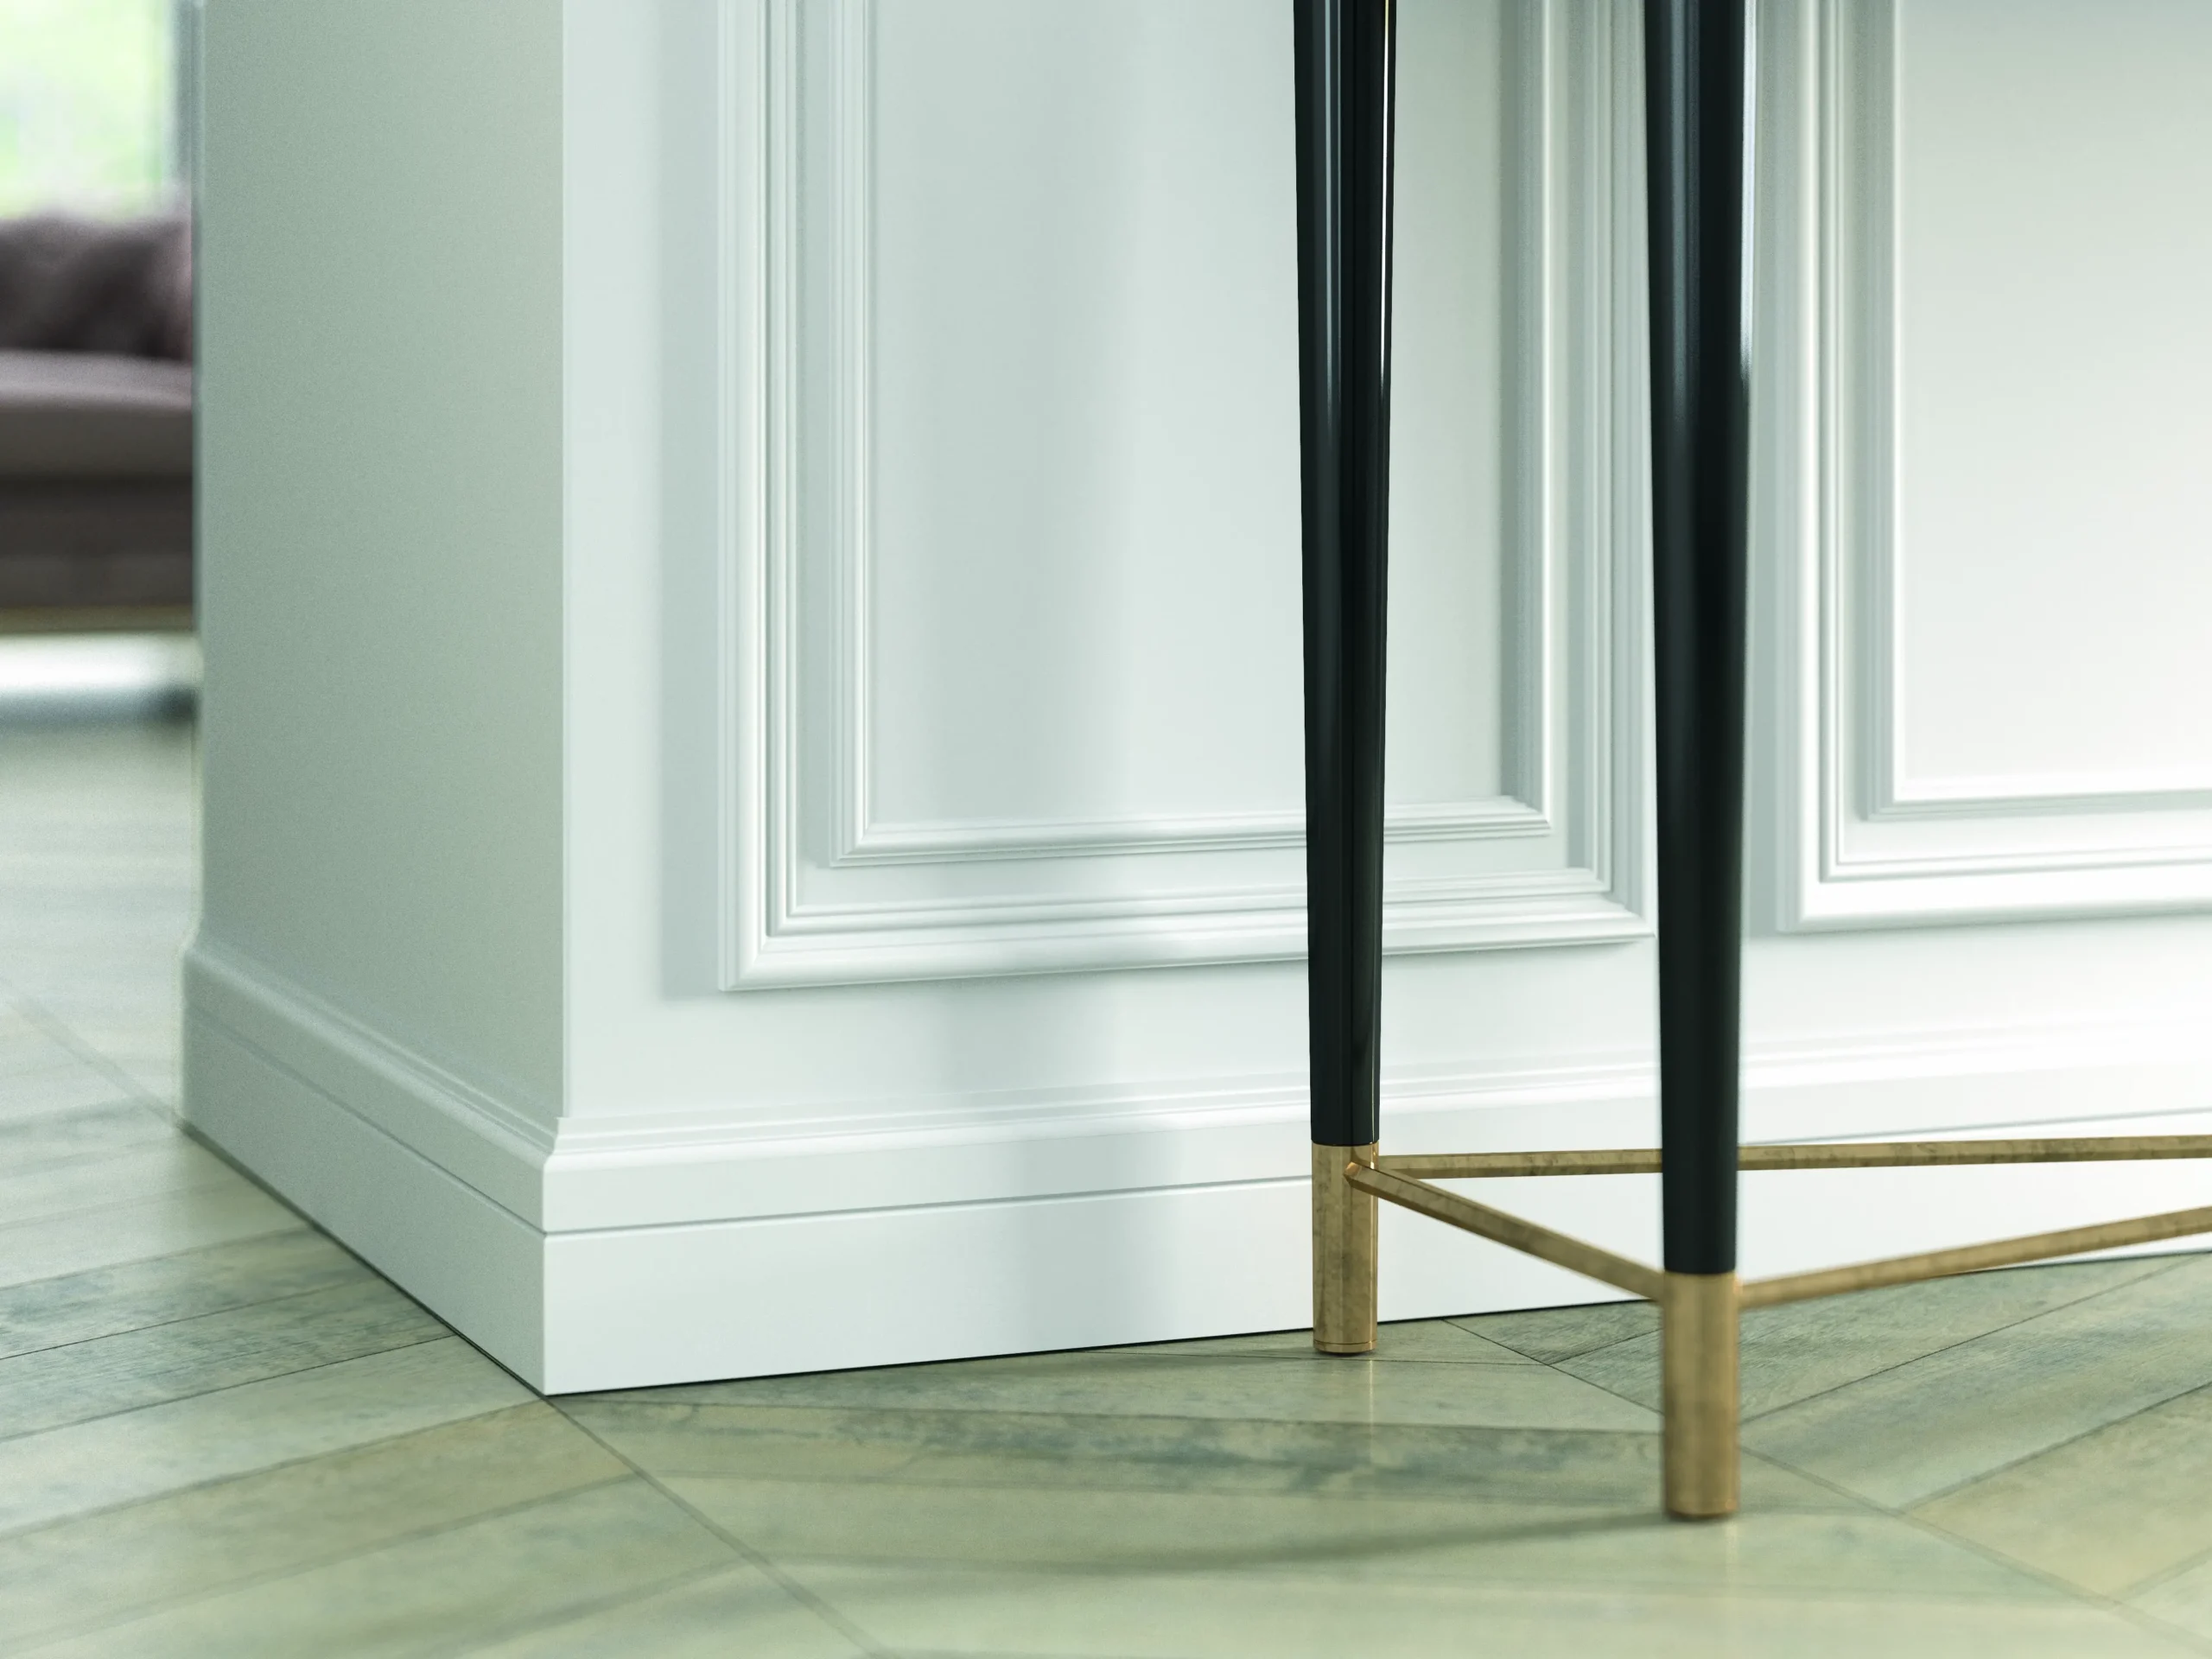
The above steps will help to achieve accurate cuts for both skirting boards and other decorative elements (just to mention ceiling moldings), which will contribute to a professional finish of your interior.
What to cut skirting boards with – a bevel or a handsaw?
The choice of a tool for cutting skirting boards depends on the requirements of precision and comfort. The bevel is an excellent choice for those who are looking for speed and accuracy; it allows cutting at different angles, which is especially useful for 45-degree angles. Thanks to its mechanism, cuts are smooth and even, saving time and effort.
A handsaw, on the other hand, is more versatile and easier to use for small jobs where complicated settings are not needed. It is also ideal for do-it-yourselfers who prefer simpler tools. So the choice depends on individual preference and the scale of the project.
How to cut skirting boards? Summary
Properly cutting skirting boards is not a difficult task if you use a few proven techniques and tools. It is worth remembering to take precise measurements, use the right angles when cutting, and regularly check how the pieces fit together. With patience and diligence, you can achieve a professional result that will enhance the aesthetics of your interior.
Read also