How to cut cornice moldings – tools and techniques worth knowing
Installing cornice mouldings is an effective way to create aesthetically pleasing, elegant and harmonious interior finishes. However, to achieve a professional end result, it is necessary to cut the profiles precisely, especially in corner elements and joints. Proper cutting requires not only skill, but also the right tools and knowledge of installation techniques.
What will you learn from this article?
What are the right tools for cutting cornice moldings?
When installing cornice mouldings, precise cutting is crucial to achieve an aesthetic and professional result. Choosing the right tools not only facilitates the entire process, but also affects the quality of the work. Before you start working, it is worth finding out which accessories are best suited for the job.
Hand saw
This is one of the most basic tools. A handsaw, especially one with fine, well-sharpened teeth, allows for precise work, especially with smaller projects. It can easily handle thin and medium-hard materials, but may require more effort for larger tasks.
Table saw
For those planning larger projects, a table saw is an indispensable tool. It enables fast, accurate and repeatable movements, which is especially important when working with larger quantities of elements. It also allows you to maintain a constant angle, which increases precision and also saves time.
Miter box
A miter box is a tool that allows you to cut profiles at a specific angle. It offers angles of 45° and 90°, which works well in most cases of installing cornice mouldings. By using it, you can achieve perfectly even and angled cuts, which is important for an aesthetic effect.
Sandpaper
After modifying the profiles, especially when working with more precision, there may be rough edges and burrs on the profiles. Sandpaper is ideal for finishing these surfaces and ensuring smooth edges.
Pencil and tape measure
Before starting work, it is necessary to accurately measure and mark the places where the work is to be carried out. A pencil and tape measure allow you to mark lines precisely, which is crucial to get the size and angle that perfectly fit the project.
Accuracy and care when cutting cornice mouldings are essential for an aesthetic and functional result. Choosing the right tools, such as a hand saw, table saw, miter box, sandpaper, and a tape measure and pencil, will not only ensure precision, but also save time and energy. Proper preparation will make it easier to install the cornice mouldings and ensure the end result is as expected.
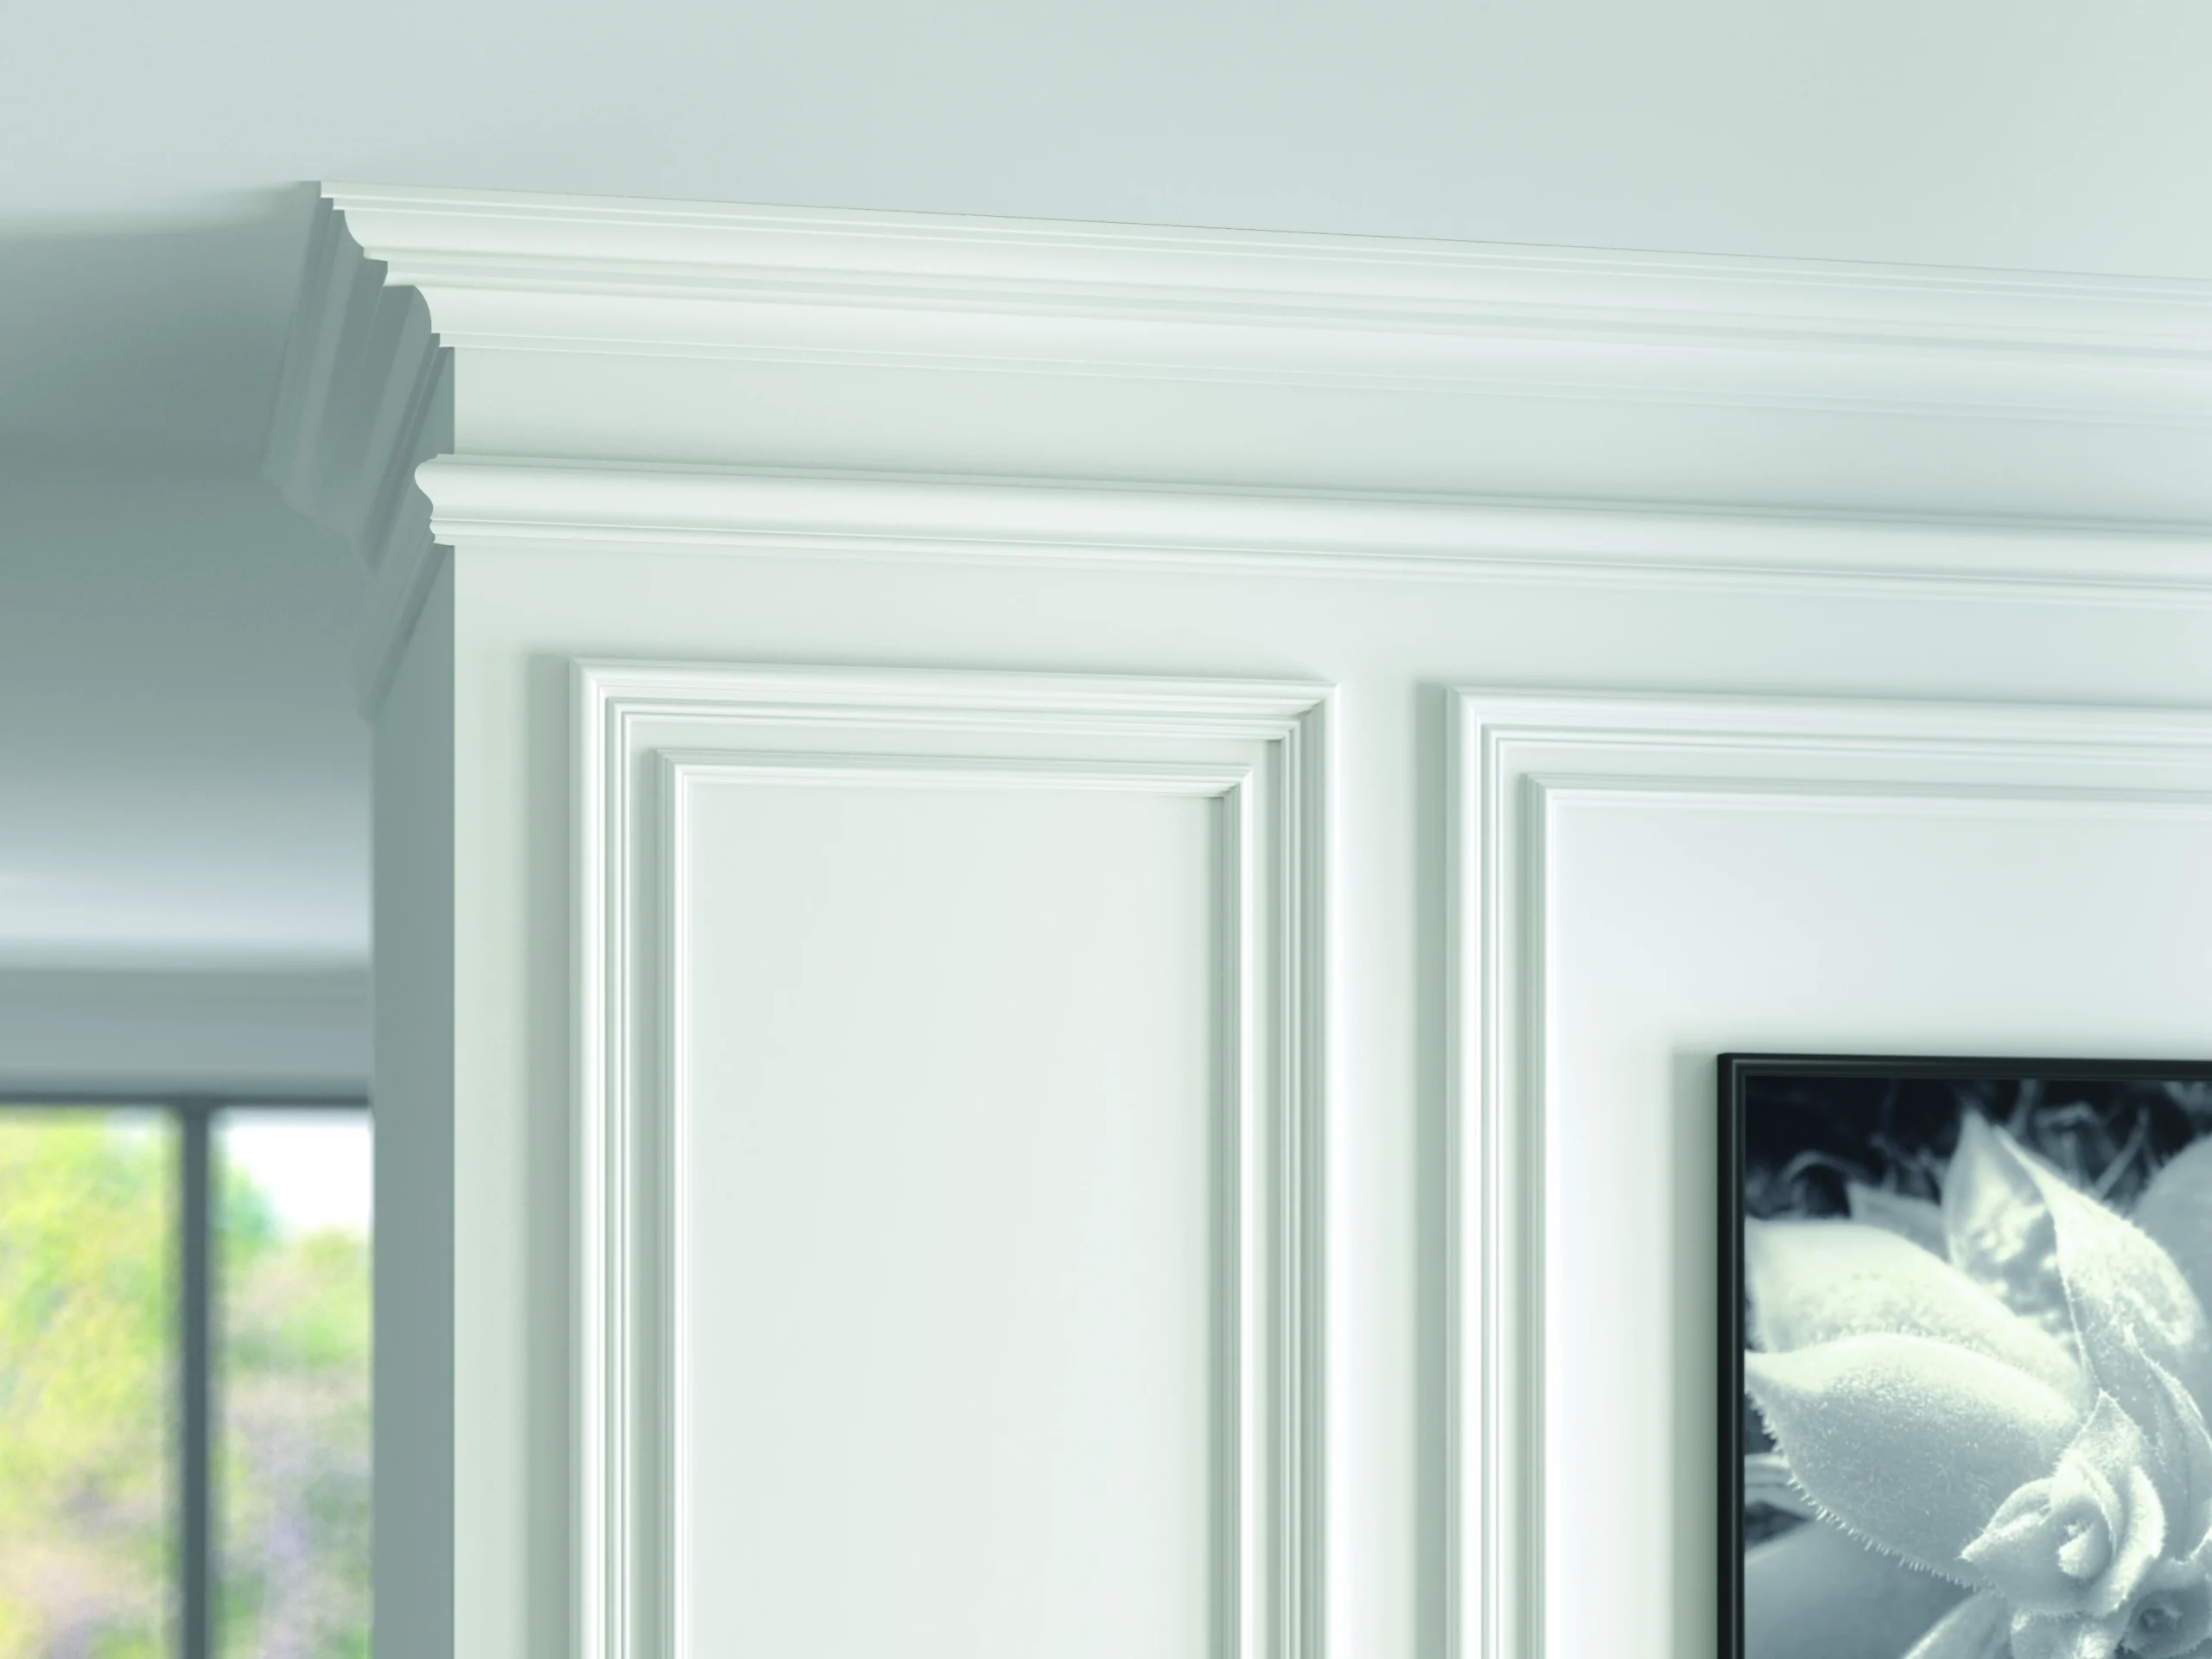
Cornice mouldings and ceiling mouldings


Technique for cutting cornice moldings
In order for the corner elements to look aesthetically pleasing, it is crucial to prepare and use the right technique. This can be done as follows:
1. Take precise measurements
The most important step before starting work is to carefully measure the length of the profiles. Every measurement error can affect the fit of the profiles to the ceiling and wall edges. Before you pick up the tool, use a tape measure to precisely measure and mark the cutting points. Also, pay attention to the shape of the corner elements – for difficult angles, it is better to measure twice to avoid mistakes.
2. Using the miter box
Now it is time to position the profile in the miter box. The miter box allows you to precisely set the cutting angle, which is crucial for perfectly fitting corners. Cornice mouldings usually need to be cut at a 45-degree angle, especially for internal corner elements.
3. Cutting the profiles
To cut the corner elements or profiles at right angles, you can use a hand saw with a guide or a table saw. A hand saw is ideal for smaller projects, while a table saw makes it easier to cut a larger number of pieces. It is important to be careful and avoid applying too much pressure to the blade, which could lead to chipping or uneven edges.
4. Edge processing
Unevenness may appear on the edges. To achieve a smooth and aesthetic surface, it is worth using sandpaper. Smoothing the edges will help remove sharp and uneven fragments, which will make the profile look more refined and the joint with the ceiling will look better.
The whole process requires care and precision at every stage of work. From taking accurate measurements, to setting the cutting angle in the miter box, to precise cutting and edge processing, every step has an impact on the final result. The use of the right tools, such as a saw and miter box, combined with attention to detail, guarantees an aesthetic and durable finish.
The most common mistakes when cutting moldings
Cutting cornice mouldings is a process that requires precision and attention. Although it is an activity that can be done independently, incorrect execution of individual stages can negatively affect the aesthetics of the entire interior. The most common mistakes that can occur during this task are:
- Incorrect measurements – one of the most common mistakes is measuring the length of the profiles inaccurately. A profile that is too short or too long can lead to difficulties in fitting it or even having to cut it again, which increases the risk of making further mistakes. Careful measurements are the key to a perfect result.
- Wrong angle – cutting at the wrong angle can result in a lack of a perfect fit in the corner elements. Profiles usually need to be cut at a 45-degree angle in the inner corners, and an error in this respect can cause the elements to not fit together.
- Acting too quickly – rushing should be avoided. Moving the blade too quickly can cause material chipping and uneven edges, which will affect the quality of the cut and make further installation difficult.
- Failure to sand the edges – after cutting, especially in the case of precise cuts, uneven edges may appear. If this step is ignored, the profile will not fit properly to the wall or ceiling and the whole thing will look unprofessional. Using sandpaper is an easy way to smooth the edges and make them look aesthetically pleasing.
- Neglecting cut points – it is important to ensure precision at every stage. If the cut points are not precise, unsightly gaps between the profiles may appear, which will be conspicuous and spoil the entire composition of the finishes.
Every mistake can affect the final result, so it is worth taking the time to be accurate and patient to ensure that the final appearance of the profiles is perfect.
Check out the top-quality cornice mouldings and ceiling mouldings from Mardom Decor!
Choose from hundreds of different models and order a free sample, delivered straight to your door!
How to prepare profiles for installation
After cutting the cornice mouldings, it is worth taking care to prepare them properly before installation. This includes:
- Sanding the edges – to achieve smooth and aesthetic joints.
- Check the fit – before final installation, make sure that the profiles fit together well at an angle.
- Mark the cutting points – special grooves or markings can make it easier to install the profiles.
- Clean the surfaces – both the profiles and the walls should be clean and dry.
Well-prepared profiles are the key to their proper installation. Sanding the edges, checking the fit, marking the cutting points and cleaning the surface are steps that will significantly facilitate and speed up the installation process, while ensuring an aesthetically pleasing end result. Each of these steps is essential for the profiles to look good on the ceiling and create a durable, aesthetic connection.
Cutting cornice mouldings is a relatively simple task if you have the right tools and follow the basic rules. It is crucial to take precise measurements, use a miter box and choose the right cutting angle. Pay attention to the most common mistakes and remember that good preparation is a guarantee of a perfect fit of the cornice moldings in the corner elements. If you take care of each stage of the described process, the end result will certainly meet your expectations.
Read also