Installation of a ceiling LED strip step by step
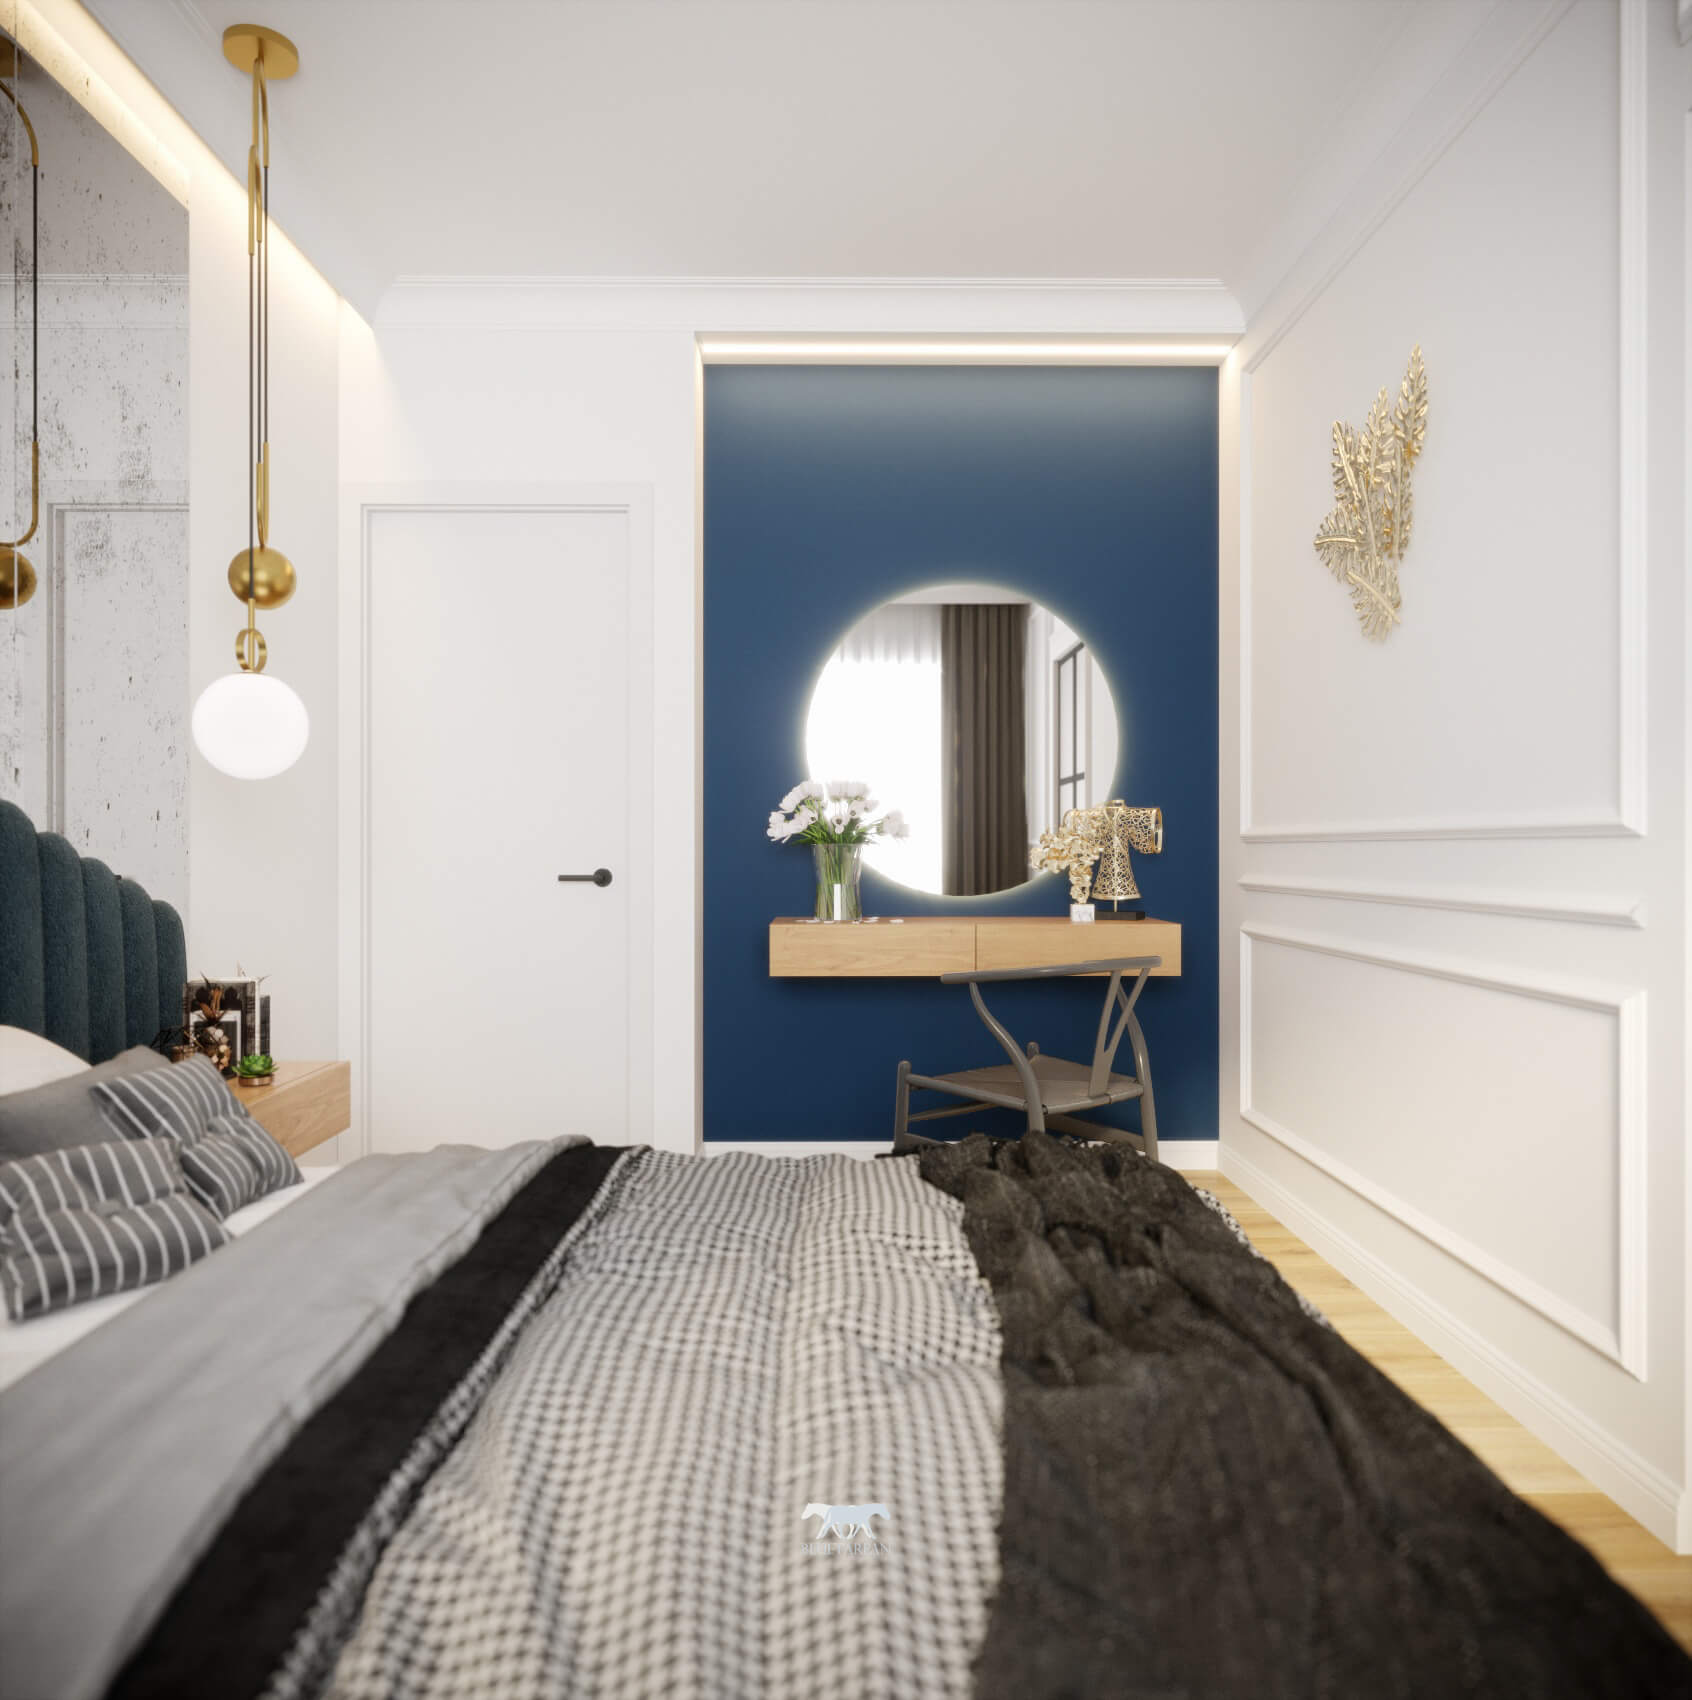
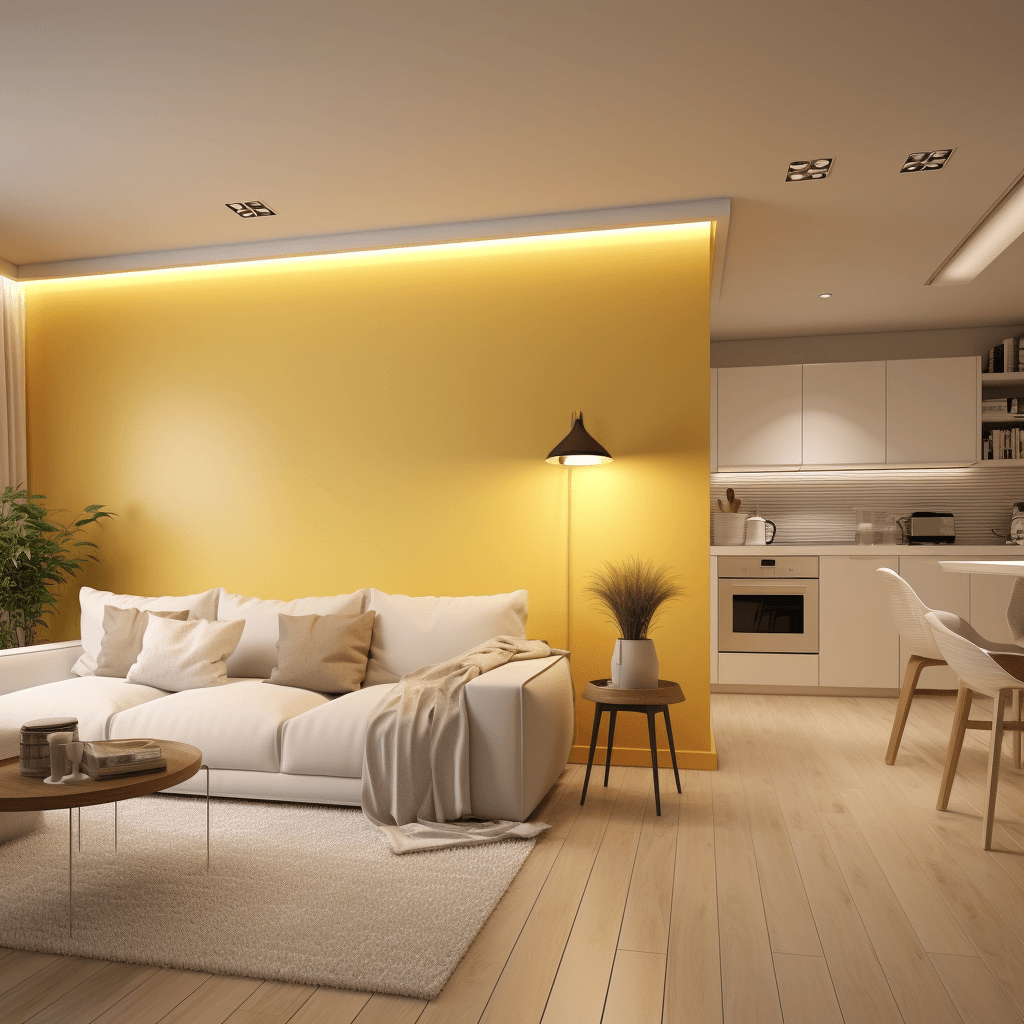
Lighting strips are becoming more and more popular, not only in modern arrangements, but also in other architectural styles. Installing a ceiling LED strip can affect the final appearance of the interior – it gives us the choice of installing a chandelier or omitting it altogether. Ceiling strips with an energy-saving LED light source are not only effective lighting, they are characterized by low electricity consumption – they are an aesthetic and economical solution for modern interiors. Their delicate light introduces a warm, cozy atmosphere into the interior, while providing excellent lighting.
Despite numerous advantages, installing a ceiling LED strip can be a challenge, especially for people who have no experience in installation work. That’s why we’ve prepared this article, hoping it will help you delve deeper into the topic of lighting profiles. We will guide you step by step through the assembly stages so that you can enjoy effective lighting without unnecessary stress and complications.
How to light the ceiling? — ceiling and universal LED strip
Among the available solutions, LED ceiling strips are one of the most popular and effective methods of illuminating a space. However, there are different variants available – wall, universal and ceiling lighting profiles are the most popular models and we will focus on them today. Both of these options offer wide arrangement possibilities, allowing you to create both practical and aesthetically attractive lighting in any interior. LED ceiling strips and universal lighting profiles will work as the main light source in the room, as well as mood lighting.
How to install an LED strip in the ceiling? – ceiling LED strips
These LED ceiling strips are designed specifically for installation on or immediately adjacent to the ceiling. This location helps create a subtle indirect lighting effect that evenly illuminates the space – it will work well as the main overhead lighting, but also as an additional decorative element. Their main role is to create the effect of indirect lighting, which not only brightens the room, but also constitutes a key decorative element of the interior. Ceiling LED lighting profiles are usually mounted using mounting profiles. It is then necessary to carve out a space in the wall for them (usually new construction, developer’s condition) or create a lowered ceiling (older construction, prefabricated flats). The LED strip is placed in the profile and then secured with a cap. There are transparent, milky and even black options available on the market.
Universal LED lighting profiles
A universal lighting strip is a versatile solution that can be used in many aspects of interior design. They are characterized by the form of a flexible LED strip, which means that they can be mounted practically anywhere – from walls, through recesses, to the inside of wardrobes and under shelves. Thanks to this, they will prove useful even in demanding projects. LED strips will work regardless of whether you need overhead lighting or spotlight. Their ease of installation and the ability to cut them to the required length make them an ideal solution for accentuating interior elements and creating an atmospheric atmosphere – just stick them to a given surface. The LED strip can be cut to any size, adapting the LED ceiling lighting to individual needs and preferences.
Due to the high universality of this solution, we will focus on them in today’s guide.
Stucco LED lighting profiles
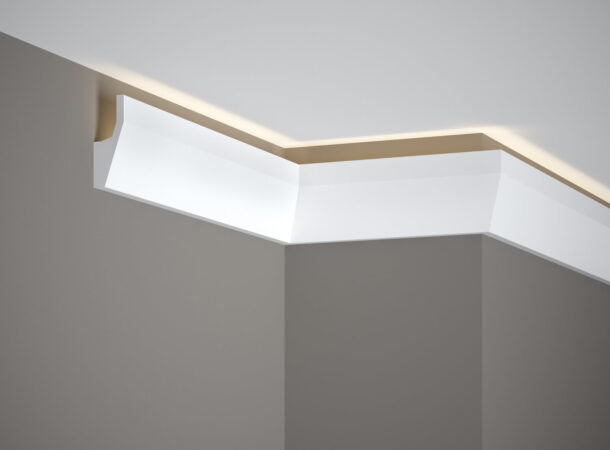
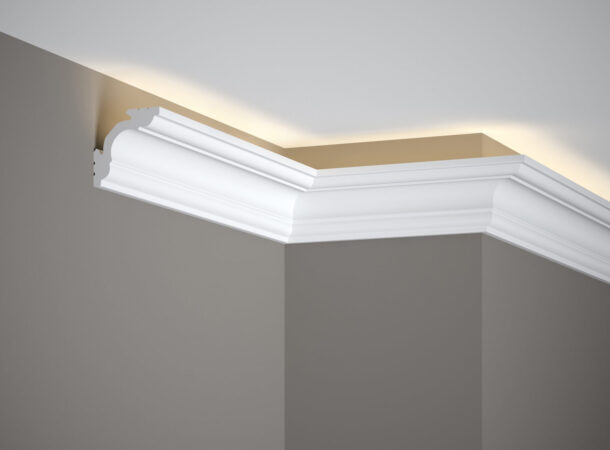
The LED lighting strip is an increasingly popular solution for creating effective ceiling lighting. Although some people decide to leave the LED strip visible, many people are looking for a way to hide it aesthetically. The ideal solution in this situation are stucco strips, dedicated to use with LED lighting. They allow you to maintain the aesthetic appearance of the interior, while effectively hiding the LED strip and the visibly illuminated ceiling.
The lighting stucco is characterized by a special design, it has a recess adapted to hide the LED strip. Such an LED lighting strip not only disguises unsightly elements, but also makes it possible to harmonize the aesthetics of the interior. Thanks to this, the user can choose a strip with a specific design and style, which allows to highlight the character of the room while maintaining the functionality and efficiency of the lighting.
LED ceiling strip Mardom Decor
Traditional stucco often requires additional treatments, such as gluing it with aluminum tape from the inside to avoid the effect of point LEDs shining through the surface of the strip. This solution, although effective, can be time-consuming and cumbersome. The answer to these needs is the LightGuard® Mardom Decor technology, which uses special refiners and a thickened structure, both in the external and internal coating. The material is denser and the ceiling lighting strip is not transparent, eliminating the problem of visible diodes. Instead, the light is dispersed around the strip, providing excellent illumination of the space and an aesthetic visual effect.
Ceiling lighting profiles and others
Mardom Decor lighting stucco is much more than just ceiling lighting. The offer also includes skirting boards, wall mouldings and curtain systems, models dedicated to use with LED lighting. Thanks to the variety of available products, you can create a unique atmosphere in any space by adapting the lighting to individual needs and interior design. Regardless of whether you are looking for delicate lighting in the living room, elegant accents in the bedroom or a practical solution in the kitchen or bathroom, Mardom Decor stucco allows you to create unique interior arrangements, adapted to the character of each interior.
How to make LED lighting under the ceiling?
Creating LED lighting under the ceiling is a process that can be divided into several stages. To make the whole process as easy as possible, we have divided the individual elements into sections.
1.Planning stage
Before starting the assembly, it is important to carefully plan the entire process. Choose the right LED strips, decide on the type of stucco that will fit the interior, determine the power source (24V or 12V are most often used in home interiors) and carefully measure the room to know how much material you need.
Why stick LED lights on the ceiling or wall?
u003c!u002du002d wp:paragraph u002du002du003ernrnMost often, they are self-adhesive, so you don’t have to worry about choosing the right product. If necessary, you can also use Mardom Max glue.rnrnu003c!u002du002d /wp:paragraph u002du002du003e
2.Zakup materiałów
Then purchase all the necessary materials, including: selected stucco, LED strips with connectors, mounting adhesives, power supplies and lighting controls. The selection of high-quality materials is crucial for the durability and effectiveness of the entire lighting system.
Installation of stucco
The stucco is installed in front of the LED strip.
Clean the surface on which the lighting profiles will be mounted. Cut the strips to the required length using a hand saw and a miter box or miter saw, then attach them to the ceiling using a high-strength, short-setting adhesive. At Mardom Decor you will find a dedicated Mardom Max product. Make sure the profiles are stable and evenly installed.
Assembly tips
1. When cutting MD stucco, we recommend cutting at slow speed, using a sharp disc with a large number of teeth.rnrn2. Apply the glue in a wavering motion – too little may negatively affect the durability and stability of the mounting.
4.Installation of the LED strip
Try the LED strip on the strips to check whether the selected length is sufficient. Cut to appropriate length if necessary. Then attach the LED strip behind the stucco strips using the self-adhesive tape on the back or mounting glue. Connect the LED strip to the power supply, most often it is connected to the home electrical installation, although in some cases you can use the battery-powered option. Installing lighting profiles may require the help of an electrician, especially when modifying the existing electrical installation.
Finishing
Once assembly is complete, turn on the lights to check that everything is working properly. Make sure all wiring is securely fastened and hidden behind stucco.
Ceiling strips with LED lighting – functional and aesthetic
Ceiling strips with LED lighting from Mardom Decor are not only practical lighting solutions, but also stylish decorative elements that perfectly fit the aesthetics of any room. Made of innovative PolyForce material, they are fully resistant to moisture, which makes them perfect even in bathrooms and kitchens, where weather conditions and external factors may be a challenge. Thanks to ScratchShield® technology, these strips are also exceptionally resistant to mechanical damage, which is important in places that are intensively used. Their smooth surface, covered with the highest quality primer, is easy to maintain and protected against yellowing and dirt.
Mardom Decor offers a wide selection of ceiling strip patterns, from simple and minimalist to richly decorated, enabling a perfect match to the style of any interior. Their assembly is intuitive and does not require complicated tools, which makes them an ideal solution for both professionals and amateurs of interior decoration. You can find lighting stucco from sizes 4 x 200 cm up to 15 x 200 cm. Ceiling strips with LED lighting from Mardom Decor are the perfect choice for anyone who is looking for functionality combined with refined style.

